Return to Topic![]()
![]() Open a Case
Open a Case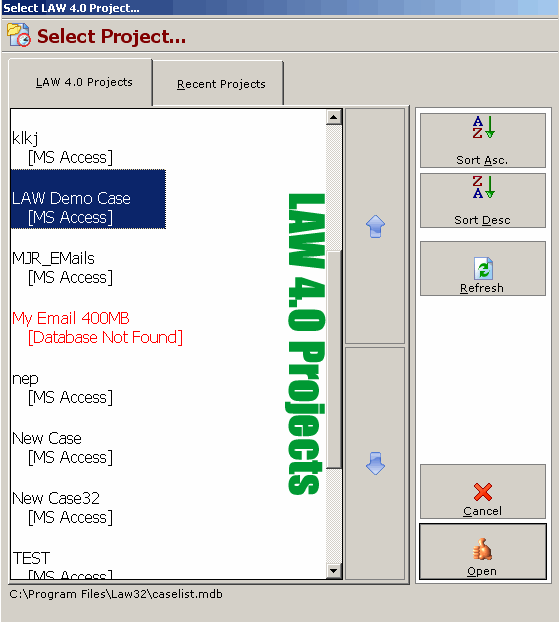

To open a case in LAWtsi select the Open button from the Main Interface. This will display the Case Selection Dialog (Figure 1). This dialog is used to open cases stored in the Case List. To open a case either click the desired case and click the Open button or double click the case name. Recently opened cases will be displayed on this dialog and can be accessed via the Recent Projects tab.
Case Selection Dialog - This dialog is used to open cases.
The Case Selection dialog provides several buttons for convenient access to commonly used options.
•Sort Asc - The Sort Ascending button will sort the case listed from A to Z in a vertical fashion when clicked.
•Sort Desc - The Sort Descending button will sort the cases listed from Z to A in a vertical fashion when clicked.
•Refresh - The Refresh button will refresh all entries stored in the Case List when clicked. This button can be used if a case was recently added to the Case List in LAW and does not show up in LAWtsi.
|
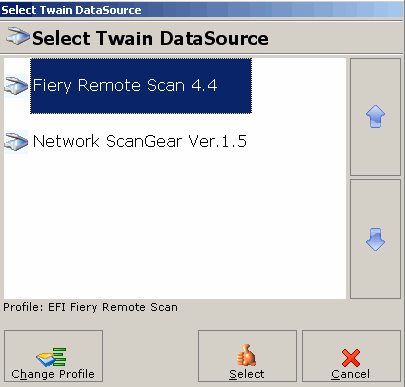
Before any documents can be scanned using LAWtsi, a scanner must first be selected. All scanning functions will be disabled until a scanner is selected. To select a scanner the user must click the Select... button on the left of the main interface. This will display the Select Twain DataSource dialog (Figure 1) which shows all of the installed TWAIN devices. Select TWAIN DataSource - This dialog is used to select an installed scanner. To select a scanner, first click on the DataSource Name and then click the Select button. If a Twain Profile has not previously been setup for the selected scanner, the user will be prompted to select one. Please see Selecting a Twain Profile for more information. To change the Twain Profile click on the Change Profile button, which will display the Select Twain Profile dialog to change the Twain Profile for the selected scanner.
|

|
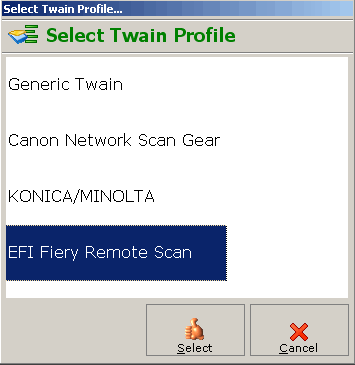
Select Twain Source - This dialog will set/change the Twain Profile for the selected scanner. There are four types of Twain Profiles. •Generic Twain - The Generic Twain profile is used for scanners that do not fit any of the other profiles. •Canon Network ScanGear - The Canon Network ScanGear profile is used for any Canon branded scanner that uses Canon's Network ScanGear utility to acquire images. •Konica/Minolta - The Konica/Minolta profile is used for Konica or Minolta Branded scanners without EFI Fiery controllers. •EFI Fiery Remote Scan - The EFI Fiery Remote Scan profile is used for scanners with an EFI Fiery Controller. |
|
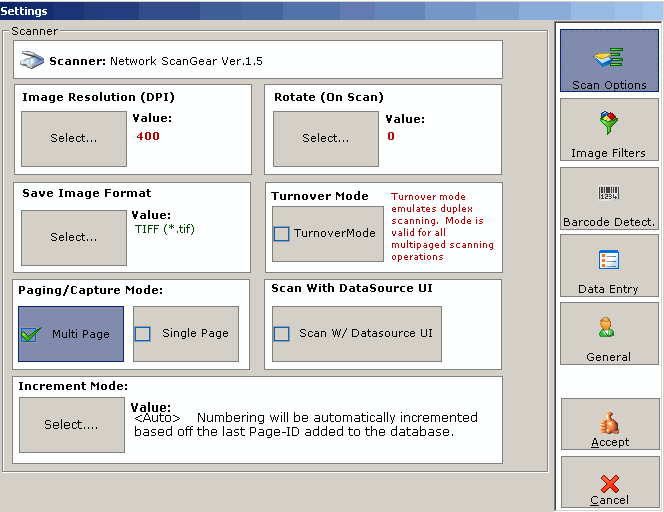
The Scanner Options are displayed by clicking the Settings button on the Main Interface of LAWtsi. The settings page is an interactive image with the scanner settings available. Click on the setting to view more information. Scan Options dialog - This is an interactive image that will display more information on each setting when clicked. |

The first dialog is for scanners that support a Range of DPI values. Resolution dialog - This dialog is used to set the DPI for the selected scanner. |
 The Resolution of the scanner can be set via the Scanner Options in the Settings Dialog. This setting is applied . To change this value click on the Select... button which will display the Resolution Dialog . Since each scanner varies from the next, the user may see one of two different dialogs when changing the DPI.
|
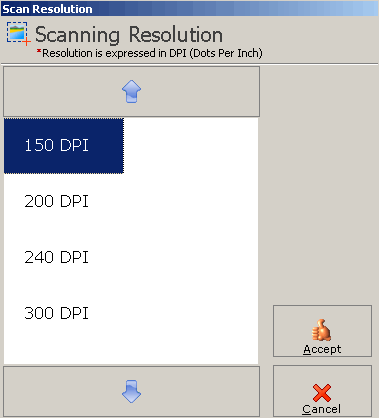
 To select the Resolution click on the button with the corresponding value. If a different value is desired click the Other... button. This will display the Scanning Resolution dialog (Figure 2). This dialog allows users to configure the resolution to any value within the range supported by the scanner.
Scanning Resolution dialog - This dialog allows for manual configuration of the selected scanner's resolution. The Second dialog (Figure 3) is for scanners that support specific values for the Resolution instead of a range. This dialog shows the exact values available to the selected scanner. Resolution dialog - This is the alternative resolution dialog used to select the resolution of the scanner. |
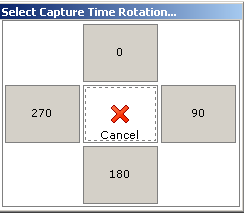
LAWtsi allows users to automatically rotate documents when scanning. This is performed on the application-side after the document has been scanned. This can be configured through the Scan Options in the Settings dialog. To change this setting click the Select... button in the Rotate (On Scan) section, this will display the Scan Rotation dialog. Scan Rotation dialog - This dialog is used to set the scan rotation. The value of each button is the degree that the document will be rotated when it is scanned. |
![]() Image Format
Image Format
Save File Type dialog - This dialog is used to set the File Type of documents to be scanned. Note: When file type is set to JPG, Multi-Page mode cannot be selected because JPG files do not support multiple pages. |
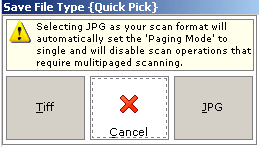 LAWtsi can create either TIFF or JPG files when scanning. This setting can be changed in the Scan Options on the Settings dialog. To do this click on the Select... button in the Save Image Format section which will display the Save File Type dialog.
![]() Turnover Mode
Turnover Mode
The way Turnover Mode works, is that the user first scans the front sides of documents. Then when the document is done scanning, the user flips it over and scans the back sides of the pages. Turnover Mode button - This button is used to toggle turnover mode on or off. |
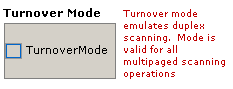 Turnover mode allows users to scan double-sided document with a scanner that only supports simplex scanning. this setting can be changed on the Scan Setting which is located on the Settings dialog.
![]() Page Mode
Page Mode
Page Modes - These are the two different page modes. The two different page modes are Multi Page and Single Page. •Multi Page - When the Multi Page setting is enabled, each page scanned through the scanner will be added to a multi paged document. •Single Page - When the Single Page setting is enabled, each page that is scanned will be a single document. |
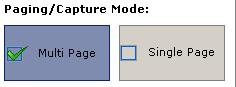 LAWtsi offers two Page Modes, multi-paged and single paged. This setting can be changed from the Scan Options in the Settings dialog.
![]() Scan with Datasource UI
Scan with Datasource UI
Scan w/ DataSource UI button - This button enables Scanning with the DataSource's User Interface. |
 When the Scan With DataSource UI setting is enabled, LAWtsi will open the TWAIN utility for the selected scanner. This allows users to configure the scanner with various settings (depending on the driver).
![]() Increment Mode
Increment Mode
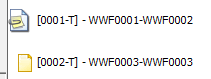
Increment Mode dialog - this dialog allows users to select the increment mode for the Bates Numbering scheme. There are four different modes that LAWtsi can be set to for the numbering scheme. •Auto - The Auto increment mode will set the numbering to be automatically incremented based off the last Page-ID added to the database. When this setting is enabled LAWtsi will prompt the user for a starting Page-ID for the first scan within the a new folder. •Manual - The Manual increment mode will set LAWtsi to prompt the user to input a new starting Page-ID each time a document is scanned. The user will be prompted for a new starting Page-ID if a barcode break is encountered. •Manual (Auto) - The Manual (Auto) increment mode will prompt the user to input a new starting Page-ID for each document scanned. It will not prompt for a new starting Page-ID if Barcode Break detection is turned on and a new document is encountered (broken up by a barcode break sheet). •None - If the increment mode is set to none, then the user will not be prompted for a starting Page-ID. This setting will also not increment any existing Page-IDs. |
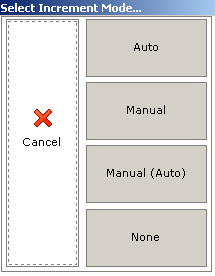 The Increment Mode can be changed in LAWtsi by clicking the Select... button on the Scan options in the Settings dialog. This will display the Increment Mode dialog.
![]() Image Filters
Image Filters
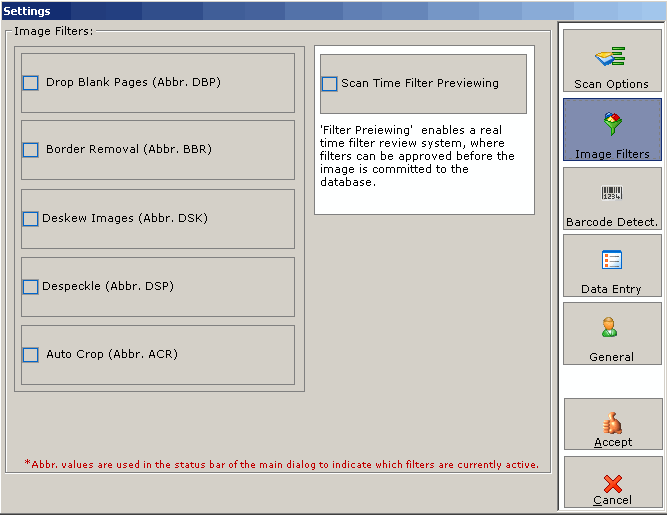
LAWtsi supports scan-time filters that provide several image enhancement options at scan-time. These settings can be enabled via the Settings dialog in the Image Filters section. Image Filter settings - This dialog is where the Scan-Time Image Filter settings are configured. The available settings are: •Drop Blank Pages (DBP) - The Drop Blank Pages setting will discard blank pages when scanning when enabled. •Border Removal (BBR) - The Border removal setting will attempt to remove black borders around the document if found. •Deskew Images (DSK) - The Deskew images setting will attempt to straighten each page of a document while scanning. •Despeckle (DSP) - The Despeckle setting will attempt to remove any noise (scratches and dust) found on a page when scanned. •Auto Crop (ACR) - The Auto-Crop setting will crop off extra white space from the border of a page, this can be helpful when scanning checks or other non-standard paper sizes. LAWtsi also provides an option to allow users to view the preview the scan-time filters applied to the image. The Scan Time Filter Previewing option will enable this.
|
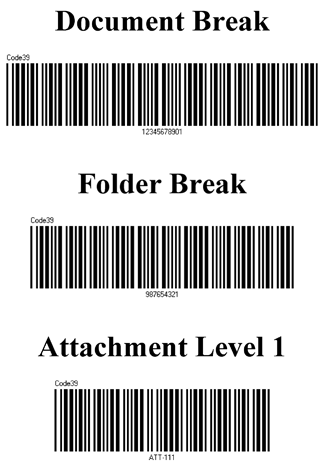
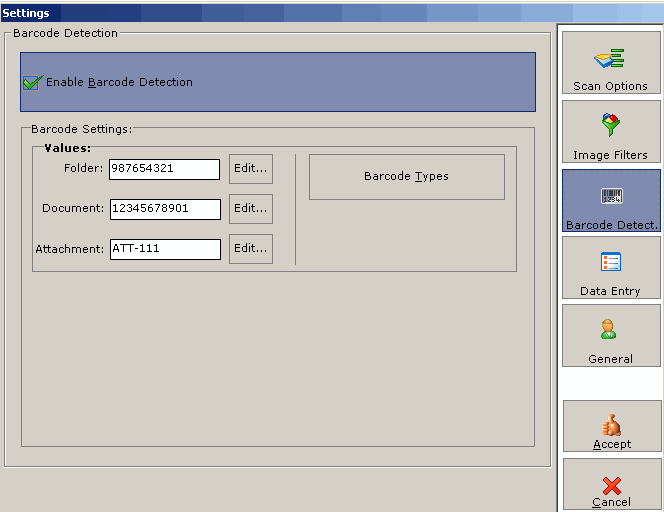 LAWtsi supports barcode detection when scanning and splitting documents. Since different break sheets may be used, LAWtsi offers some configuration options which can be set via the Settings dialog in the Barcode Detect section.
Barcode Detect settings - This dialog shows where the barcode detection settings are configured.
Enabling the Barcode Detection setting will allow users to change the barcode values for the Folder, Document, and Attachment break sheets. Clicking the Edit... button will display the Interactive Keyboard and allow user input.
The Barcode Types button will display the available barcodes and allow users to select type of barcodes to detect.