Return to Topic ![]()
Once you've finished Configuring Turbo Import, you're ready to start importing documents into the Case Database. Turbo Import streamlines this process by batches of source documents known as Import Sets, which are further organized into Custodian groups. These Custodians are used as the top-level of organization for all electronic documents imported into LAW.
In order to actually start importing, you must first add at least one Import Set:
|
|
Turbo is a networking application. You should not pull in data from the desktop. Other workstations in the Turbo pool will not be able to see the desktop of the first workstation. This is different on an all-in-one workstation. It is intended for cases and source data to be on network drive. |
1.Start by selecting the Import Setup tab within the Turbo Import utility.
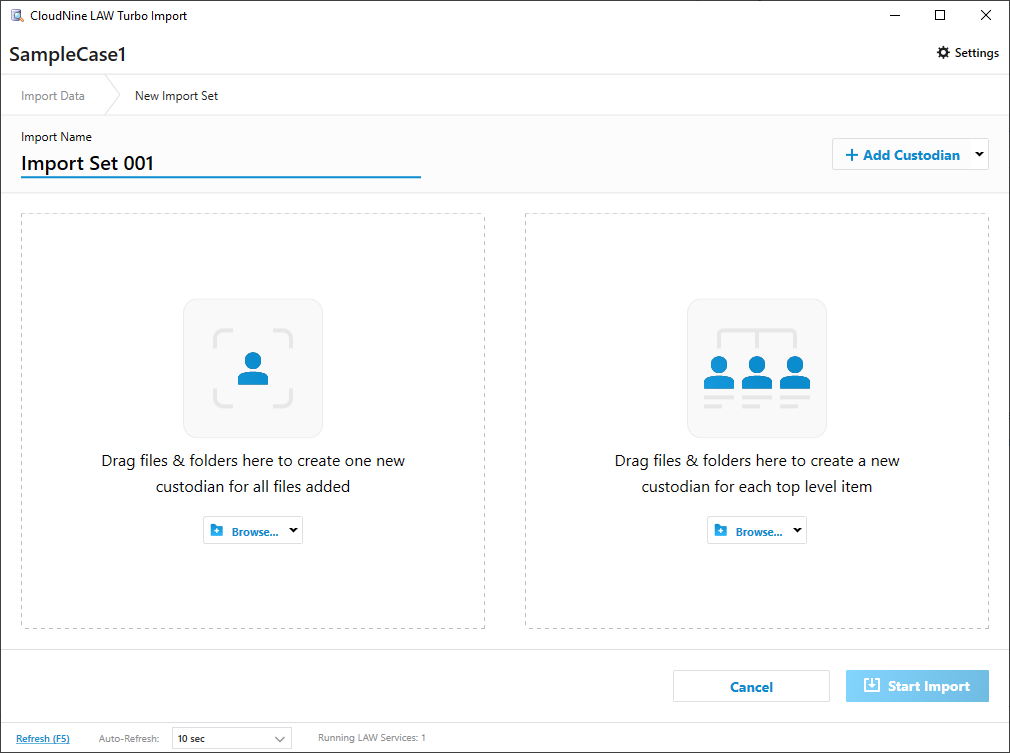
2.Click on the blue +Add Import Set button near the top right of the window. You will be redirected to the New Import Set screen.
3.From here, set your desired Import Name in the appropriately labeled field near the top left. This name increments automatically for each new set created.
•Defaults to "Import Set 001". Maximum length of 100 characters allowed, made up of any characters supported by SQL.
•Names set here will later display in the EDSession field within the Visible Metadata Fields pane of the Main User Interface.
4.Add new Custodians to the import set using any of the following methods:
1)Drag any number of files/folders from a standard File Explorer window onto either region in the middle of the window, depending on your desired outcome:
•Use the left region to create a single Custodian for all the currently selected files/folders/file list.
|
NOTE: that processing data with a file list will process data in that order. |
•Use the right region to create separate Custodians for each top-level file/folder currently selected.
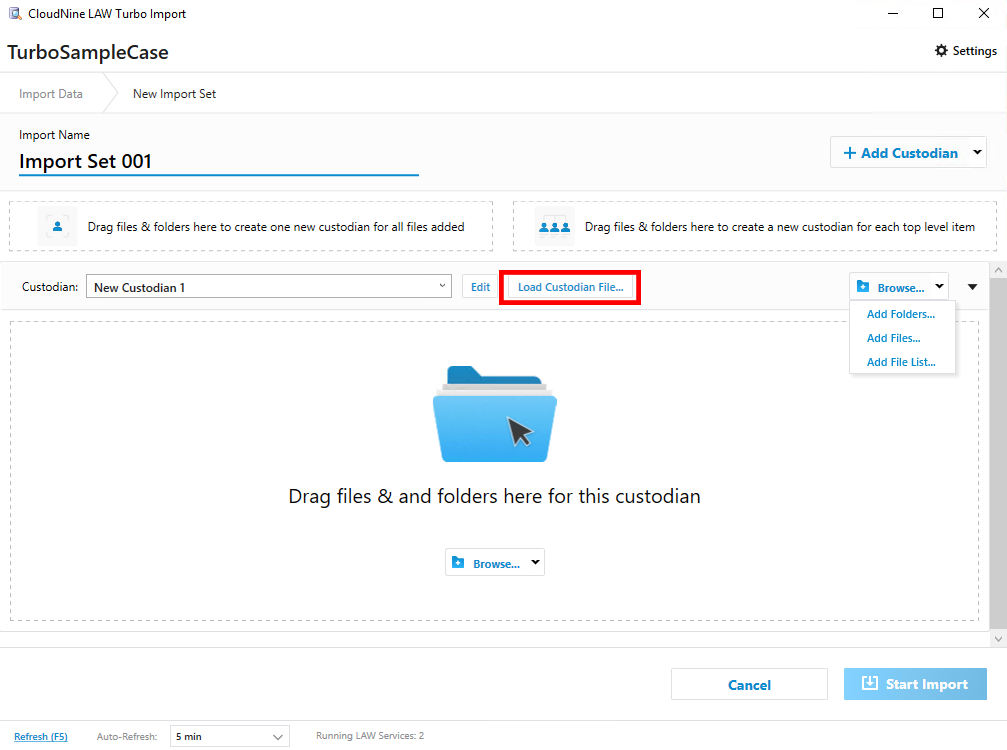
2)Click on the Browse... button located within either region to open a File Explorer within LAW. From here, you can select any number of files/folders, causing the same outcomes mentioned above (i, ii).
3)Click on the +Add Custodian button located to the right of the Import Name. This will immediately create a new Custodian for you to manually add files/folders to using the same two methods listed above.
5.Continue adding files/folders to each newly created Custodian if needed.
6.You can edit the name of each Custodian by clicking the Edit button located to the right of the name field. Click Save to save any changes made, or Cancel to revert changes.
•Maximum length of 50 characters. The following characters cannot be used < > : " / \ | ? *
•Period can be used in the middle of a custodian but not at the end.
•Custodians cannot be deleted once created, and cannot be changed once any of their associated sources have been imported.
7.When you're finished configuring the New Import Set, you are finally ready to start importing. Click on the Start Import button in the bottom right of the window to add this set to your session and initiate the import process.
8.You will automatically be returned to the Import Setup tab. From here, you are ready to Manage the Turbo Import Session.
|
Before importing Lotus Notes mail stores, make sure the Lotus Notes application is closed on all workstations that have LAW Service enabled. If Lotus Notes is open on the LAW Service while attempting to import Lotus Notes mail stores, the email messages in the Lotus Notes mail stores are not extracted during the import. |
|
|
During ingestion, UFDR files are split into smaller chunks for distributed processing by multiple agents. The chunk data is stored at <case directory>\$EdaCase\$EDA\$Sources\$UFDR Folder. |
A Knowledge Based Article on this subject can be found here: How do I fix the exception thrown: System.Data.SqlTypes.SqlNullValueException: Data is Null. (cloudnine.com) - Custodian is created but no imports are performed