Load files can be used to replace images that currently exist within the active Case File. Document numbers in the load file are compared to the BegDoc# or DocID of files existing within the current Case Directory to determine if a replacement is necessary.
Please keep the following in mind when using load files for image replacement:
•OCR text for the associated image files is not imported during replacement.
•Files listed in the load file that cannot be found are skipped during import.
•Load files should be produced in the same storage format as the images contained within the Case Directory to avoid needing to split or merge images after the import has finished.
•The folder and file structure of the Case Directory is maintained during the import process, so single or multi-page image files will remain in the same format.
•You can decide whether files currently existing within the Case Directory have backup copies made, or are permanently deleted. If copies are made, they will maintain the following naming structure: <OriginalFileName>_V01.<ImageExtension>
•Images may be replaced with a different file type as desired.
Image replacement via load file is performed through the Select Image Replacement Load File File Explorer, followed by the Replace Existing Images window.
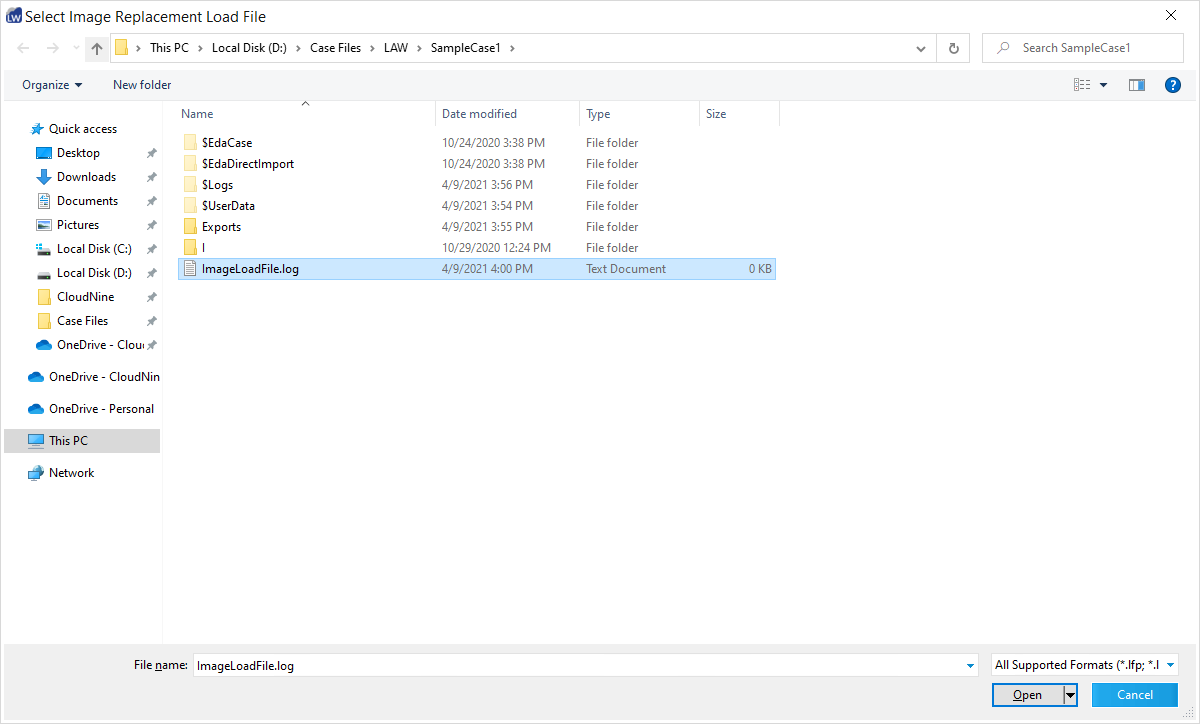
Select Image Replacement Load File
To open the Select Image Replacement Load File File Explorer from the Main User Interface, use the Menu to select File > Import > Image Replacement Load File.
From this File Explorer, navigate to and select the load file that you wish to use for image replacement, and then click Open at the bottom-right.
To open the Replace Existing Images window, select the desired load file from the Select Image Replacement Load File File Explorer, and then click Open.
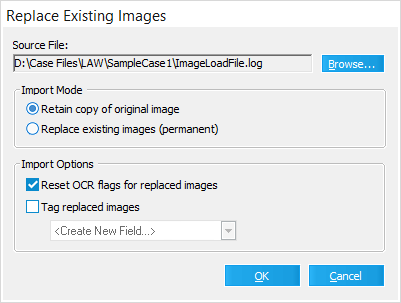
Adjust the available settings as desired, and then click OK at the bottom-right to begin importing. The following settings are available:
•Source File - Displays the file path to the selected load file. You can use the Browse... button to change the selected load file.
oBrowse... - Re-opens the Select Image Replacement Load File File Explorer, allowing you to choose a different load file for import.
Import Mode
•Retain copy of original image - Images already existing within the Case Directory will have copies saved.
•Replace existing images (permanent) - Images already existing within the Case Directory will be permanently overwritten.
Import Options
•Reset OCR flags for replaced images - Sets the OcrFlag of each image to Y ("ready for OCR") once they are imported.
•Tag replaced images - Tags all replaced images within the selected Custom Metadata Field as Y. Be sure to select a Tag (Boolean) type custom field for this purpose. Use the drop-down below to select the desired field.