Because your transcripts are unique documents with added notes, highlights and attachments, Concordance Desktop offers an Annotation Report Writer tool for customizing reports from your transcript database.
Depending on your needs, each annotated report created in the wizard may include several types of annotations and the text included in the annotations.
To Print Annotations Using the Annotation Report Writer Wizard
1.In Concordance Desktop, open your transcripts database.
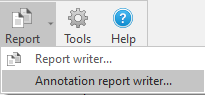
2.On the Standard toolbar, click the arrow next to the Report button and select Annotation report writer.
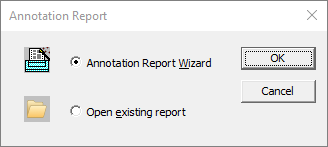
3.In the Annotation Report dialog box, select Annotation Report Wizard and click OK.
4.In the Report dialog box, select the type of annotated report you want to print and click Next.
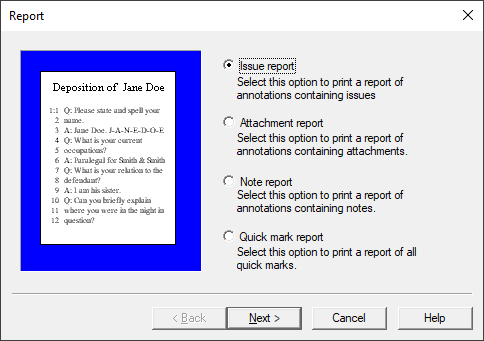
•Issue report - prints an issues report
•Attachment report - prints a report of annotations containing attachments
•Note report - prints a report of annotations containing notes
•Quick mark report - prints a report of all transcript line number highlights
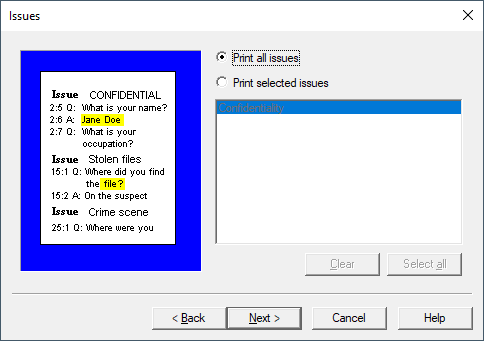
5.If you are printing an issue report, select the Print all issues option or select the Print selected issues option and select the issues you want to include on the report, and then click Next on the Issues dialog box.
i.To select individual issues in the list, use CTRL+click. To select a block of issues in the list, use SHIFT+click.
ii.If you are printing an attachment, note, or quick mark report, just click Next on the Issues dialog box.
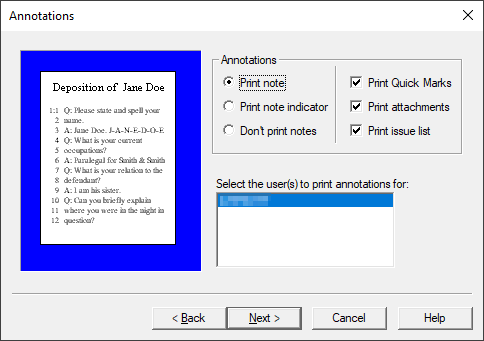
6.In the Annotations field, select the one of the note printing options and select whether you want to print the quick marks, attachments, and/or issue list.
7.In the Select the user(s) to print annotations for field, select the users for which you want to print annotations and click Next.
i.To select individual users in the list, use CTRL+click. To select a block of users in the list, use SHIFT+click.
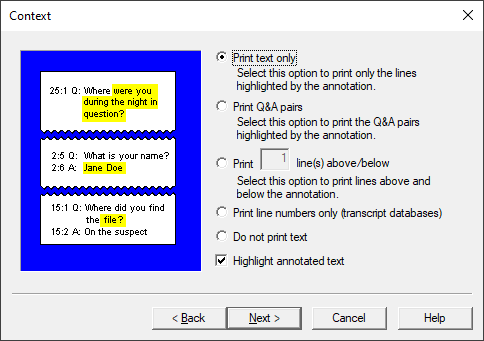
8.Select the transcript context you want to include when printing the notes and issues in the Context dialog box and click Next.
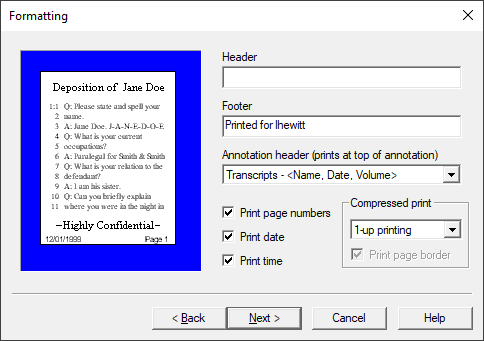
9.To add a custom header and/or footer to the report, fill out the fields in the Formatting dialog box and click Next.
i.You can include an annotation header, page numbers, the print date, and the print time on the report. You can also select whether to print a page border and multiple pages per sheet of paper in the Compressed print field.
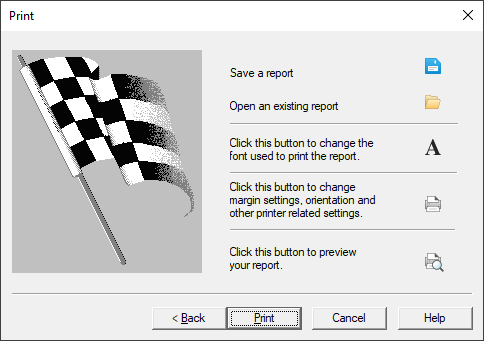
10.Define your final print options in the Print dialog box, like customizing the font and page layout, and whether to print a hard copy or save to a file.
i.To preview or edit your report, click the Click this button to preview your report button.
|
We recommend that you always preview the report before printing a hard copy or saving multiple files of it on your hard drive or server. This also allows you to edit the font, headers, footers, or other print options before you process the report. Click the Close button in Print Preview if you need to return to the Annotation Report dialog box to make any additional changes to the report. |
11.Click the Print button to print the report.