In CloudNine™ Explore, tags can be applied to documents to help track, sort, and organize the documents in a case. For example: tags can be applied to documents that need to be converted to TIFF, produced to paper, and responsive documents. Users may even wish to tag documents that should be produced at a larger paper size or produced in color. This feature makes it easier for any project (scanned or electronic discovery) to be produced.
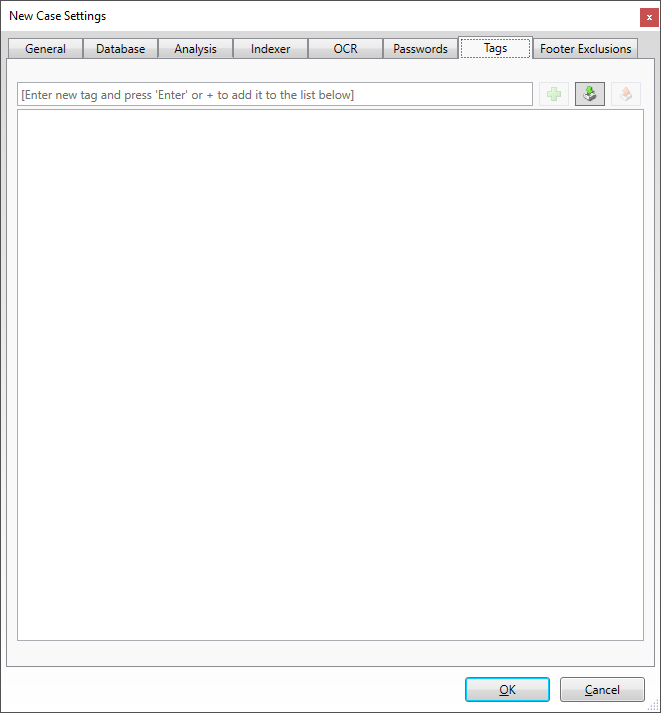
In CloudNine™ Explore, tags are created and maintained for a case on the Tags tab in the New Case Settings and Edit Case Settings dialog. Tags can be created by manually adding tags or importing tags from a line-delimited .txt file.
Tags in CloudNine™ Explore can be exported to a line-delimited .txt file. The exported tags can then be imported into other CloudNine™ Explore cases. Tags can also be exported from CloudNine™ Explore to CloudNine™ LAW. Tags are automatically exported to and created in CloudNine™ LAW when a file containing tags is exported from CloudNine™ Explore to CloudNine™ LAW. For more information about exporting files, see Exporting.
Tags are applied to individual files or file groups, such as files in a filter, search query, or exception category, on the Filters, OCR, Search, Export, and Exceptions tabs.
Tags created on the Tags tab are available for selection in the Document Tagging section at the bottom of the document preview pane on the Filters, OCR, Search, Export and Exceptions tabs and in the Group Tagging dialog on the Filters, Search, and Exceptions tabs.
For more information about applying tags, see Tagging.
|
CloudNine™ Explore does not support Unicode® characters in tag names. |

To Add a Tag
1.In the text field at the top left, type the tag name. Tag names can be up to 50 characters long.
2.Click the Add button (green plus sign). The tag is added to the tag list.
To Load Tags from a File
1.Click the Import button (middle button, top right). A Browse dialog opens.
2.In the Select file containing tags browse dialog, select the tag .txt file you want to import. Click Open.
3.A Import Complete message displays the number of tags that were added. Tags from the file are added to the tag list.
To Edit a Tag Name
1.Double-click the tag you want to edit in the tag list.
2.Update the tag name in the edit box.
3.Press Enter on your keyboard to save the change.
When you rename a tag that has been applied to documents, the tag name is automatically updated in the Document Tagging section at the bottom of the document preview pane on the Filters, OCR, Search, Export, and Exceptions tabs and in the Group Tagging dialog box on the Filters, Search, and Exceptions tabs.
To Delete a Tag
1.Select the tag you want to delete in the tag list.
2.Press the Delete key on your keyboard.
3.The selected tag is removed from the tag list.
When you delete a tag that has been applied to documents, the tag is automatically removed from the documents when the tag is deleted.
|
Any tag assigned as the primary tag or secondary tag in a review in CloudNine™ Explore Web cannot be deleted from CloudNine™ Explore Web or CloudNine™ Explore. |
To Save Tags to a File
1.Click the Export button (top right). The Save export file dialog displays.
2.Browse to where you want to save the tag file, and in the File name field type the tag file name.
3.Make sure Text File (*.txt) is selected in the Save as type list, and then click Save. A message displays indicating the number of tags exported.
4.Click OK to close the dialog.