Use the Installation Wizard's Custom setup to install the FYI Admin Console on workstations. This allows administrators to control the FYI Server from remote locations.
|
The FYI Admin Console should be installed on your FYI Server before installing the FYI Admin Console on workstations. |
To Install FYI Admin Console for Remote Administration
1.Run the FYI_Server_5_Install.exe installation file directly on the workstation.
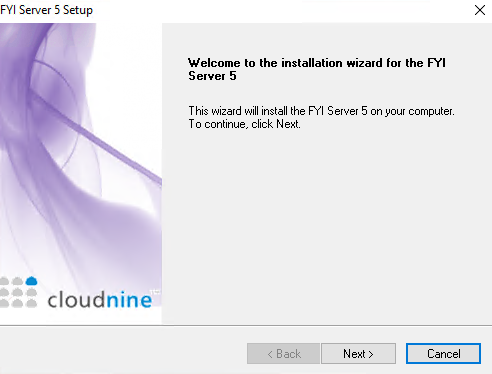
2.The Welcome dialog box appears. Click Next.
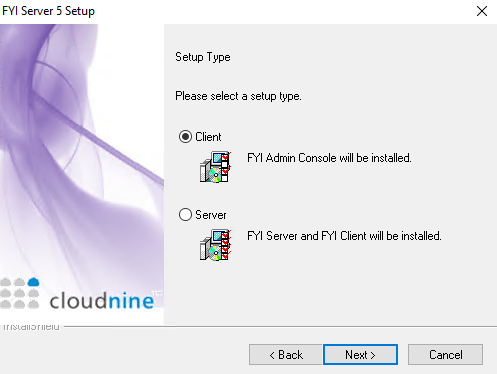
3.Click the Client option to install the FYI Admin Console. Click Next.
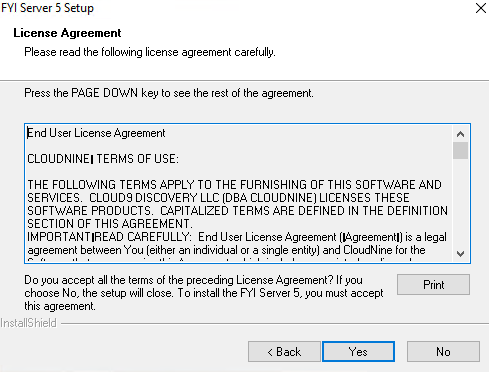
4.To print the End-User License Agreement, click the Print button. To agree to the End-User License Agreement, click Yes.
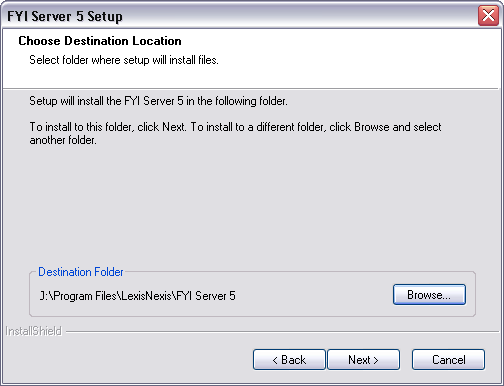
5.The default folder for FYI Server is C:\Program Files (x86)\CloudNine\FYI Server 5. To change the destination location, click the Browse button and choose a different folder. For example, J:\Program Files\CloudNine\FYI Server 5. Click Next.
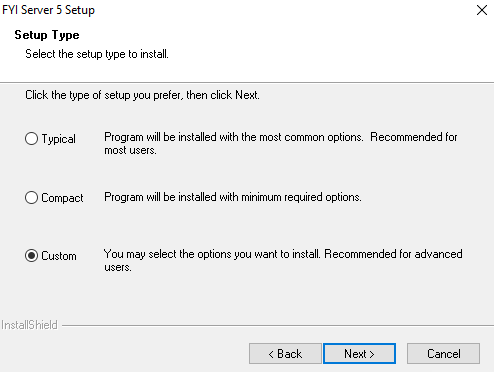
6.The Setup Type dialog box defaults to the Typical option. Select the Custom option and click Next.
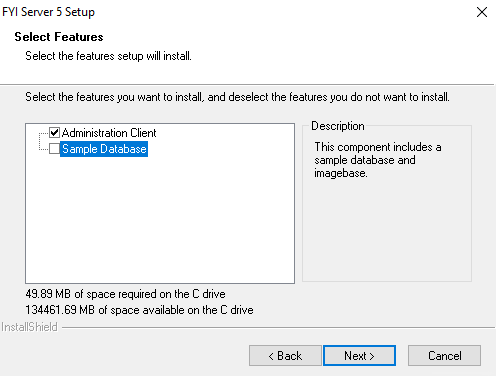
7.Select only the Administration Client check box. Make sure that the Sample Database check box is not selected. Click Next.
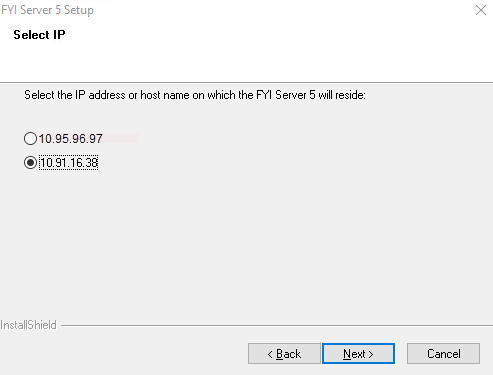
8.Select the IP Address or host name on which the FYI Server 5 will reside. Click Next.
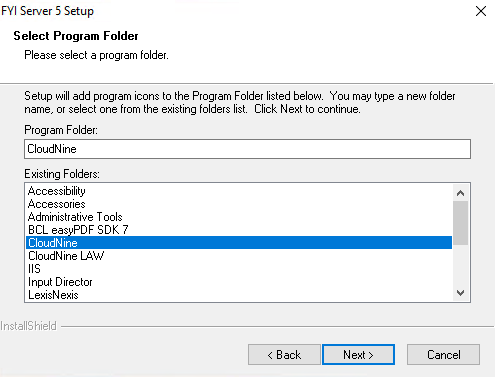
9.The default program folder is CloudNine. To change the program folder name, select an existing program folder from the list or type a new program folder name in the text box. Click Next.
10.To start the installation, click Next.
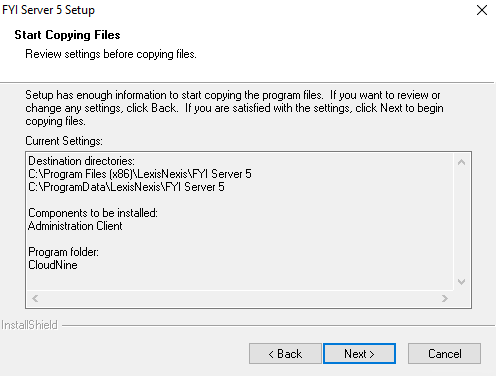
11.The process setups and installs the FYI Admin Console files. Click Finish.
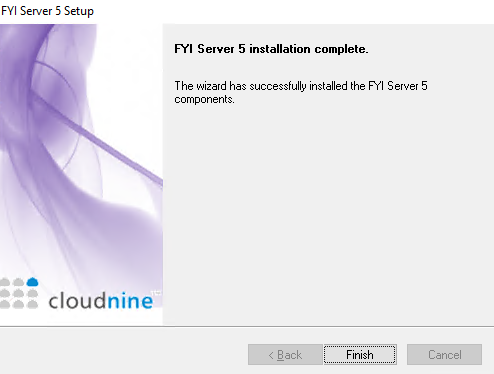
The FYI Admin Console is installed and can be accessed from your program folder or by double-clicking the FYI Admin Console 5 icon on your desktop: ![]()