Saved Searches and Search History

Contents
The Query Builder utility provides several options for reusing previously created searches. You can:
•Save searches.
•Run previously saved searches.
•Run searches from the search history.
•Edit searches that are saved stored in history.
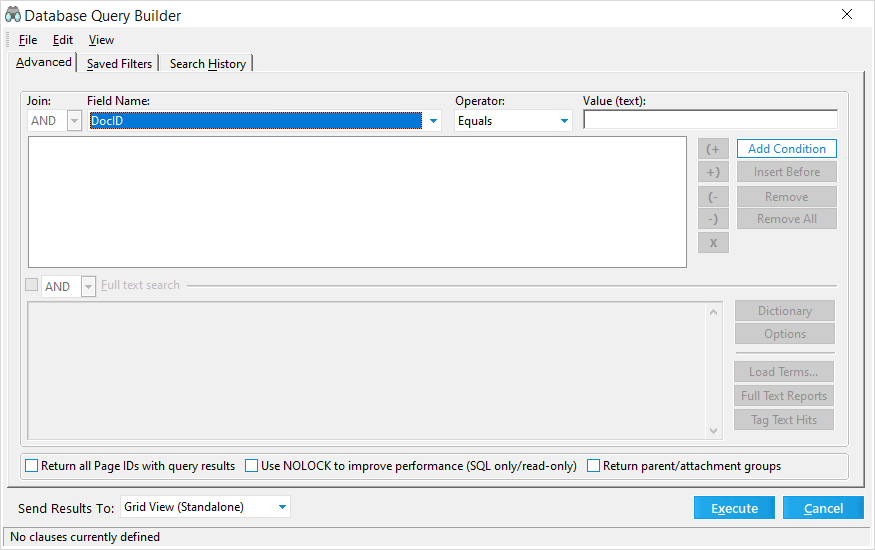
To start the Query Builder from the Tools menu click Search Records, or click Search Records on the Toolbar. The Database Query Builder displays.
To Save a Search
1.From the Database Query Builder, create a query. For more information on creating queries using fields, see Creating Queries. For more information on creating queries using full text, or fields combined with full text, see Full Text Searching.
2.With the query open, on the File menu, click Save.
3.In the Save As dialog box, select a storage level for the search. This selection determines who will be able to find the search to run it later.
•User (Available to only you)
•Shared (Available to all users in this case)
•Global (Available to all users across cases)
4.Type a name and a description for the search and then click OK. The search will appear in the Saved Filters tab.
To Run/Edit a Saved Search
1.In the Database Query Builder, click the Saved Filters tab. Previously saved searches are listed.
2.If necessary, select a Storage Level/Scope. This setting can apply a filter to show searches by level of availability:
•All Available Views. The default. Shows all searches available to you at any level.
•User (Available to only you). Shows only searches that are visible to your profile.
•Shared (Available to all users in this case). Shows searches that any user of this case can use.
•Global (Available to all users across cases). Shows searches that can be run by any user across all cases.
3.Right-click on a search request and click Open, or double-click one of the searches in the list. The Advanced tab displays and the selected query is open.
4.Modify the query if needed.
5.In the Send Results To list, select a utility to receive the search results:
•Batch Process
•Batch Update
•Export Utility
•Grid View (Embedded)
•Grid View (Standalone)
•Report Viewer
6.Save the query using one of these methods:
•On the File menu, click Save. Select a storage level, type a name and a description, and then click Accept.
•Run the query. Click Execute.
After you run a search it is automatically saved in the Search History tab.
To Run/Edit a Search from Search History
1.In the Database Query Builder, click the Search History tab. Previously run searches are listed.
2.Right-click on a previous search request and click Open, or double-click one of the searches in the list. The Advanced tab displays and the selected query is open.
3.Modify the query if needed.
4.In the Send Results To list, select a utility to receive the search results:
•Batch Process
•Batch Update
•Export Utility
•Grid View (Embedded)
•Grid View (Standalone)
•Report Viewer
5.Save the query using one of these methods:
•On the File menu, click Save. Select a storage level, type a name and a description, and then click Accept.
•Run the query. Click Execute.
After you run a search it is automatically saved in the Search History tab.
To Edit the Default Save Path for Queries and Profiles
1.On the Tools menu click Options and then select the Preferences tab.
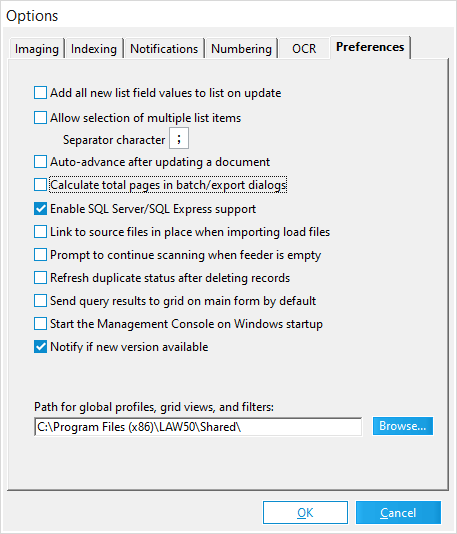
2.Click the Browse button for the Path for global profiles, grid views, and filters field.
3.Select a new path for storing queries/profiles.
|
By default, user and shared queries are stored in the case folder structure under the $UserData folder. Global queries are saved by default to the <application path>\Shared folder. |
|
If you modify the save path for queries/profiles, and you have existing queries/profiles already saved that are global, you must move those previously saved items from the default folder to your newly specified path. |