Installing CloudNine™ LAW

Contents
Once you have confirmed the system and licensing requirements you are ready to install CloudNine™ LAW, and optionally CloudNine™ Explore.
|
Sentinel Protection Server and Sentinel RMS License Manager are installed using a separate installer. When configuring LAW you will need to make sure you have access to your License Manager and that you have a valid LAW License. For recent updates, make sure to read how to install Sentinel: Sentinel Installer |
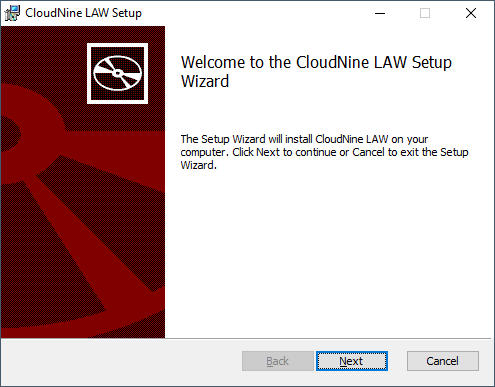
1. Run the installation executable file. The License Agreement dialog opens.
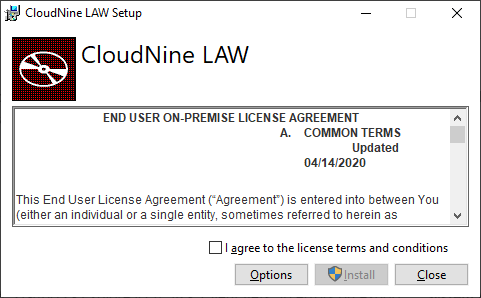
2.Check the I agree to the license terms and conditions if you accept the terms, and then click Install. The Setup Progress dialog displays and an additional LAW Setup Wizard dialog appears.
3.Click Next to continue installing LAW. The Custom Setup screen appears.
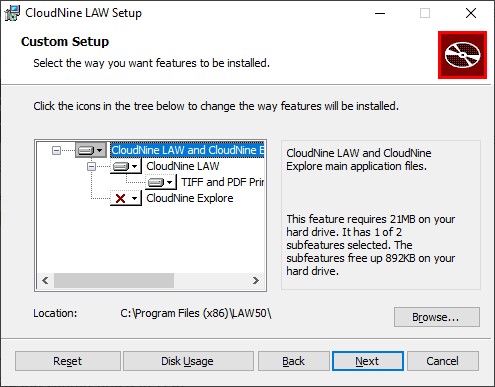
4.Select the features you wish to install by clicking the down arrow to the left of the feature name. A red X indicates the feature is not currently selected for installation.
By default, LAW and the TIFF Printer Drivers are enabled for installation. CloudNine™ Explore is not enabled for installation by default.
The features available for installation are as follows:
Feature |
Description |
|---|---|
CloudNine™ LAW |
Installs LAW50.exe and related folders, system files, templates, and utilities. |
CloudNine™ Explore |
Provides advanced prefiltering functionality. This feature requires additional licensing to run. |
TIFF / PDF Printer Drivers |
A driver for batch printing, and for batch- and single-TIFF conversion. Supports text extraction during TIFF conversion. Installation is recommended. Also includes the LAW Image Driver 300 DPI Printer. This is used to convert documents to TIFF at a resolution of 300 dots per inch. |
5.You may choose a non-standard installation directory if necessary. If you want to change the installation directory on your machine, in the Custom Setup dialog, click Browse. The Change destination folder dialog opens. Browse to the directory of your choosing, or type in a Folder name. Click OK to save the new installation location and return to Custom Setup.
6.In the Custom Setup dialog, click Next.
7.If you chose to install CloudNine™ Explore, the Configure CloudNine Explore Service dialog opens.
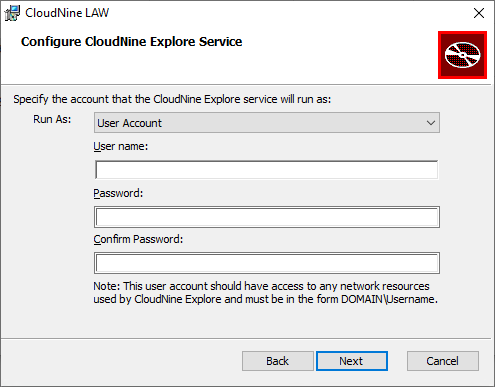
8.At the Configure CloudNine Explore Service screen, either enter a
oMicrosoft Windows account (User name and Password) that the Explore Service will the run on.
oEnter or create an account into a group that will not hinder the access rights below.
oFull read/write/modify access to share/location (source data and case folders), SQL, any workstations.
oAdd this account to SQL with db_owner role.
oUser Names should be in this format (without angled brackets or quotations): <"network domain"\"network user name">
oLocal System Account option from the Run As drop-down
oThen the current Windows user must have access permissions to the SQL Server, or you will be unable to connect
|
The User Account setting is required to operate CloudNine™ Explore in a distributed environment. The user you select must have permissions to access the network resources and to operate the SQL Server instance that will be used by Explore. For more information on network resources required to set up Explore for distributed processing, see the Explore documentation.
If you select Local System Account for Run As, CloudNine™ Explore will NOT be able to run in a distributed environment. Local System Account should only be selected for a single station installation where the SQL Server is hosted on the same station and all file resources are accessed locally. If you select Local System Account you should grant "NT AUTHORITY\SYSTEM" proper permissions to access SQL Server. |
9.Click Next. The Ready to Install the Program dialog opens.
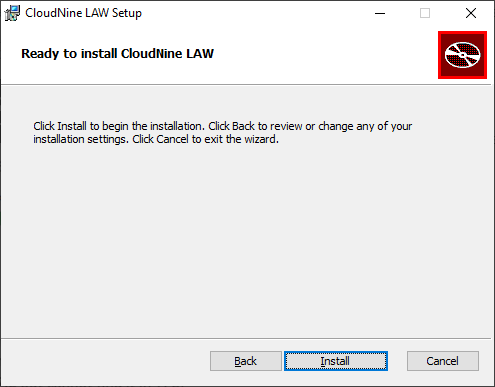
10.Click Install. The Installing CloudNine LAW dialog opens to show progress for the install. When the installation is complete, the Completed dialog opens.
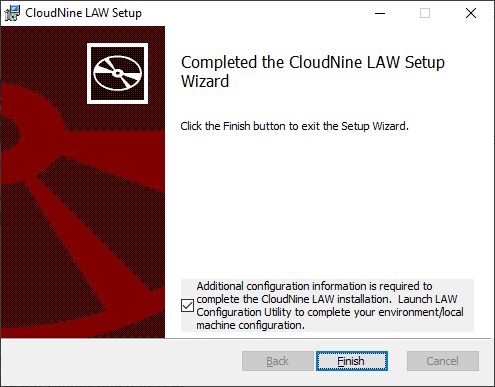
11.Click Finish in the Completed dialog, and click Close in the CloudNine LAW setup completion window. At this time, additional configuration information is required to complete the CloudNine LAW installation. The CloudNine LAW Configuration Utility displays to allow you to configure your environment and local machine. See LAW Configuration Utility for more information.
|
Additional configuration information is required to complete the CloudNine LAW installation. Launch LAW Configuration Utility to complete your environment/local machine configuration. See LAW Configuration Utility for more information. |
|
It is recommended to give all users full rights to the following locations after installation completes and prior to launching the application: C:/Program Files (X86)/Law50
It is required that users have full rights (read, write, modify) to where the databases will be stored. |
If you would like to create desktop shortcuts for LAW and CloudNine™ Explore, you can create desktop shortcuts from the LAW and Early Data Analyzer .exe files. The Law50.exe file is located in the ...\Program Files (x86)\Law50 directory, and the LAW.EdAnalyzer.exe file is located in the ...\Program Files (x86)\Law50\EDAnalyzer64 directory.
To use software key licensing or a temporary license key for LAW and CloudNine™ Explore, you need to activate the software product key or temporary license key before being able to access the LAW and/or CloudNine™ Explore functionality permitted by the licenses in the software product key or temporary license key.
•To activate a software product key, see License Manager.