The Sentinel RMS License Manager is installed through an executable package known as the Sentinel Installer. You can obtain this installer from the link below:
|
NOTE: Starting with LAW and Explore 7.10, the licensing manager was updated to work with the Thales Cloud licensing system. |
|---|
![]() Official CloudNine™ Software Download Center
Official CloudNine™ Software Download Center
A Knowledge Based Article on this subject can be found here: Installing the Sentinel RMS License Manager (cloudnine.com)
Once you've downloaded the Sentinel Installer or the Thales Sentinel Installer, you are ready to begin installing the Sentinel RMS License Server. The instructions below will guide you through the installation process:
NOTICE: These instructions cover the installation of the Sentinel RMS License Manager on the local machine, allowing this machine to be used as a License Server.
|
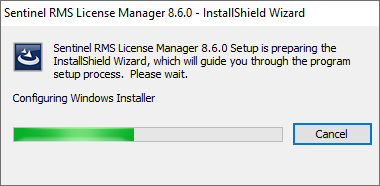
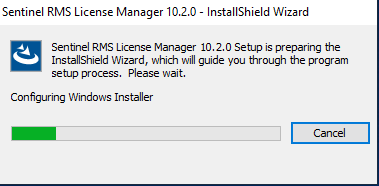
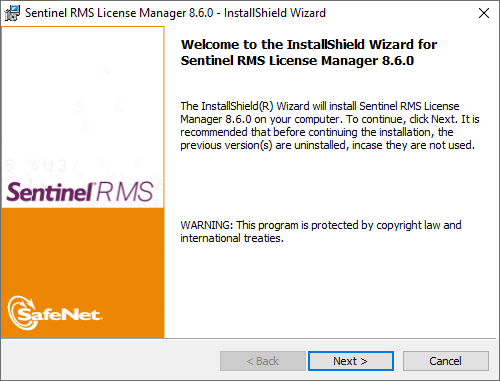
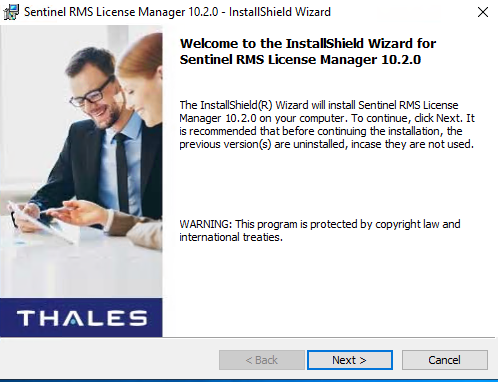
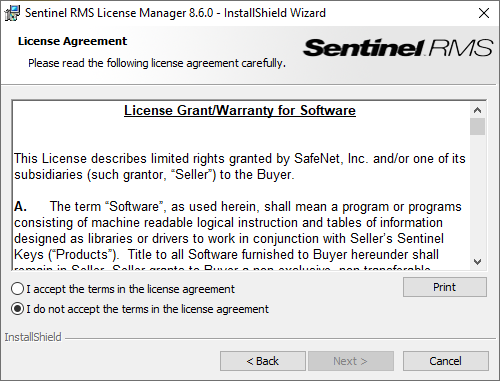
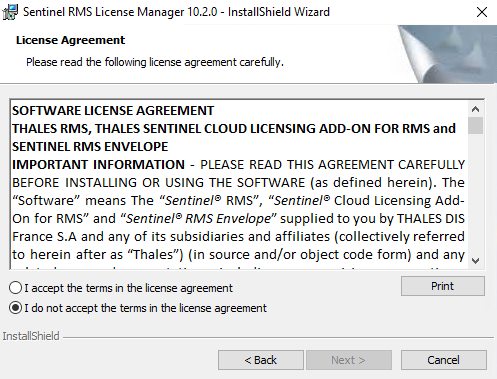
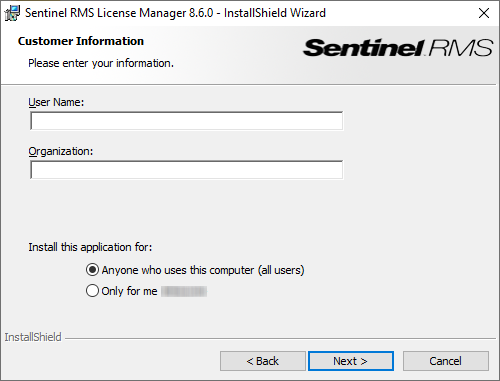
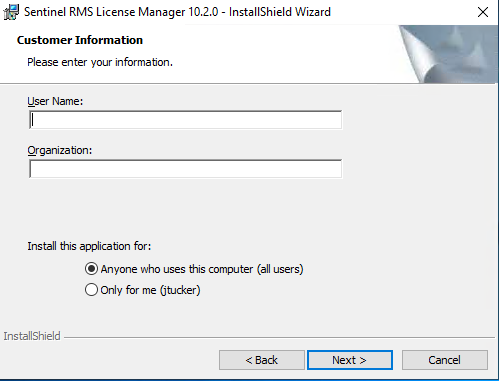
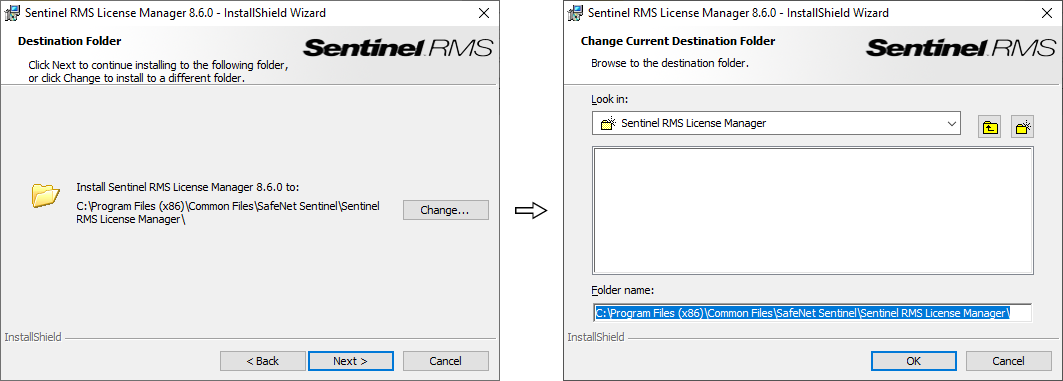
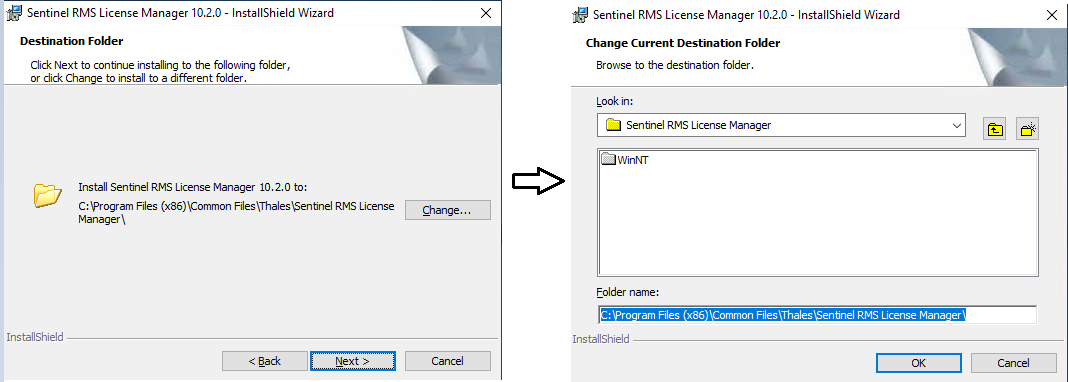
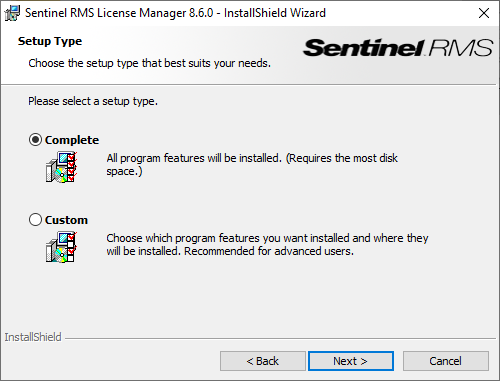
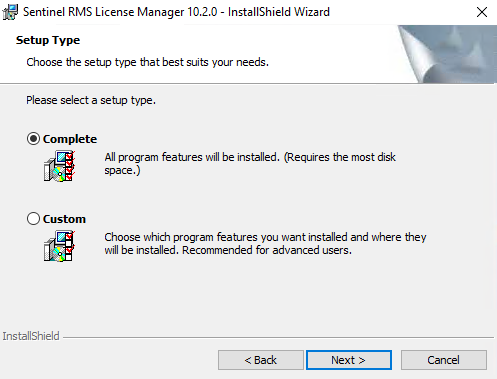
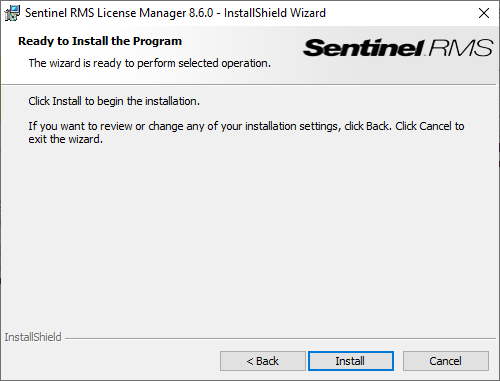
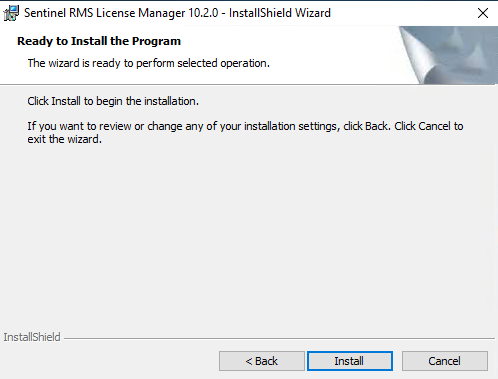
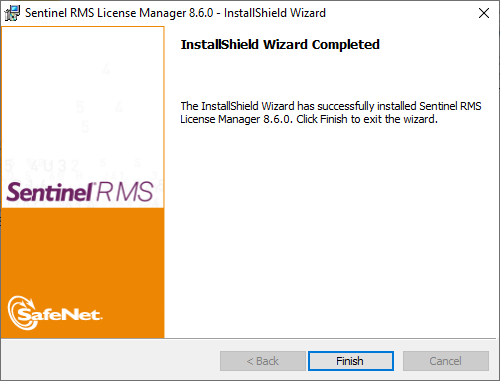
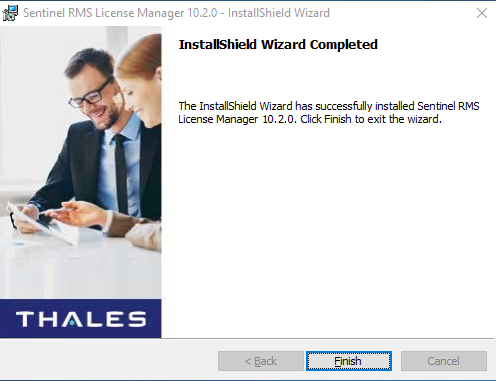
NOTE: Images for installing SafeNet Sentinel 8.6.0 are on the left and Thales Sentinel 10.2.0 are on the right |
|---|
1.Start by running the Sentinel Installer "setup.exe" for either installer. Click Yes when prompted to allow the app to make changes to your device. The InstallShield Wizard will begin configuring the necessary prerequisites.
2.Once the necessary prerequisites have been configured, the InstallShield Wizard will bring you to the Welcome screen. Click Next to proceed.
3.At the License Agreement screen, please read through the License Grant/Warranty. If you agree to these terms, then select the radio button stating I accept the terms in the license agreement, and click Next to proceed.
4.At the Customer Information screen, you can change the User Name and/or enter an Organization if desired, but leave the Install this application for option with the default Anyone who uses this computer radio button selected. Click Next to proceed.
5.At the Destination Folder screen, review the install location shown before proceeding. You can change this location by clicking the Change... button on the right. This will open the Change destination folder window, allowing you to determine a new root folder (on this computer) to use as the install location. If you choose a new folder, be sure to click OK to apply those changes. When you're satisfied with the location shown, click Next to proceed.
6.At the Setup Type screen, determine whether you would like a Complete or Custom install, and select the appropriate radio button. A Complete install is recommended. Once you've made your selection, click Next to proceed.
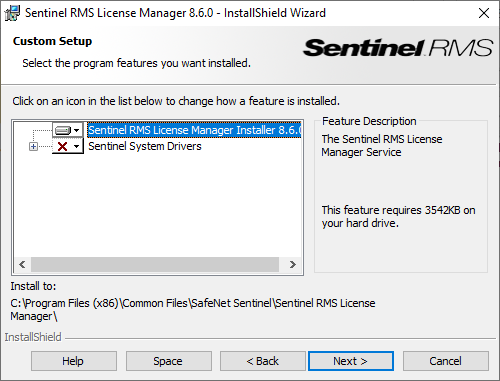
7.Skip this step if you selected the Complete installation on the Setup Type screen. Otherwise, at the Custom Setup screen, decide which features/programs you want to install by clicking the icons on their left and selecting This feature will be installed on local hard drive from the drop-down menu. Any feature/program with an X will not be installed. When you're satisfied with the features/programs you've selected, click Next to proceed. This screen does not exist for Thales Sentinel 10.2.0
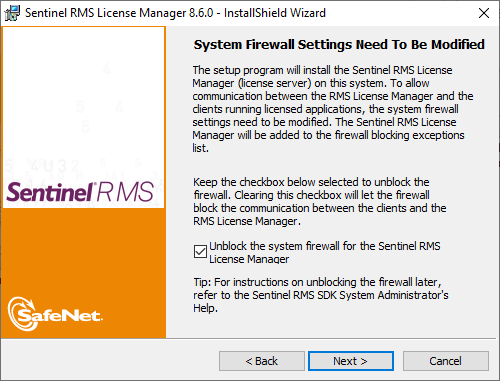
8.At the Firewall Settings screen, review the necessary information regarding system firewalls. It's recommended to leave the Unblock the system firewall for the Sentinel RMS License Manager option enabled. Click Next to proceed.

9.At the Ready to Install screen, you have one last chance to go Back to any of the previous screens and change the installation settings. Otherwise, click Install to begin the installation process.
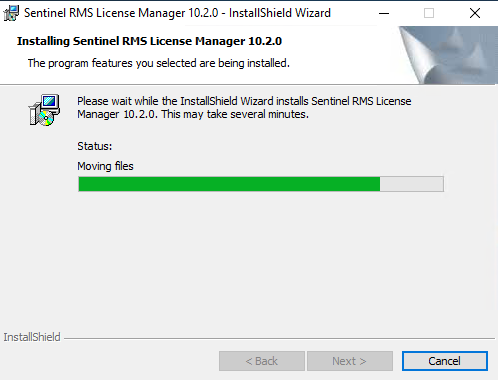
10.You will be brought to the Installing Sentinel RMS License Manager screen, where the installation progress is displayed. This process may take several minutes.

11.Once the installation finishes, you will arrive at the Completed screen. Click Finish to exit the InstallShield Wizard.
12.You have now finished installing the Sentinel RMS License Manager! At this point, you should assign this machine as a License Server and activate your LAW Licenses on it, which can be done through the License Manager utility from any LAW workstation. Instructions covering this procedure can be found in the License Server topic.
![]() See the topic.
See the topic.