The Shortcut Installation option (also known as Concordance Workstation) installs files necessary to run Concordance locally from another server installation. Default registry settings are created on the local workstation and a workstation desktop shortcut is provided that is linked to the Concordance installation on your server. The actual Concordance software is not installed on the local workstation.
|
Be sure that Concordance is properly installed on the server before initiating a Shortcut Installation. |
|
If you will be using shortcut installations of Concordance 10.24+, make sure the following directories on the Concordance Server are shared with the workstations where the shortcut will be installed: •The program data folder (C:\ProgramData\CloudNine\Concordance 10). Only the Concordance 10 folder needs to be shared, not the entire root ProgramData folder. •The program files folder (C:\Program Files (x86)\CloudNine\Concordance 10). |
|
Do not install Concordance Workstation unless the server and/or workstation data has been backed up. If you use a backup application that locks files it may cause read/write failures to the Concordance database if it is being used. For that reason, be sure to schedule backups with your IT group or administrator, and confirm that any Concordance files are not being used while a backup is performed. |
|
The e-documents import wizard is only compatible with the fully installed version of Concordance. This feature is not available for a Concordance Workstation installation. |
1.Confirm that the program data folder on the Concordance server has been shared with this local workstation.
2.Confirm that you have backed up any current Server and Workstation data.
3.Uninstall any previous version of Concordance that you have installed on this local workstation from the Control Panel.
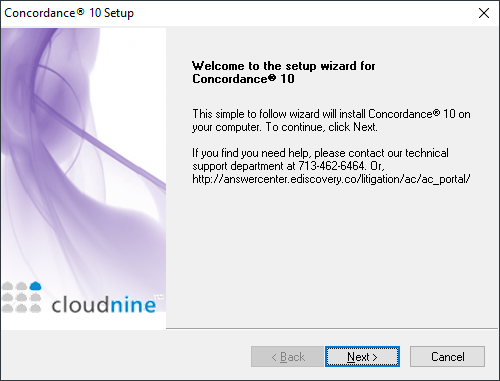
4.Run the Concordance Installer on the local workstation as an administrator. You will see a Preparing Setup screen, followed by a Welcome screen. Click Next to proceed.
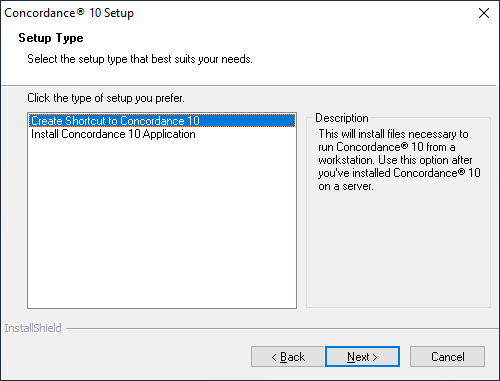
5.You will arrive at the Setup Type screen. For standalone or server installations, select Create Shortcut to Concordance 10 from the list, and then click Next.
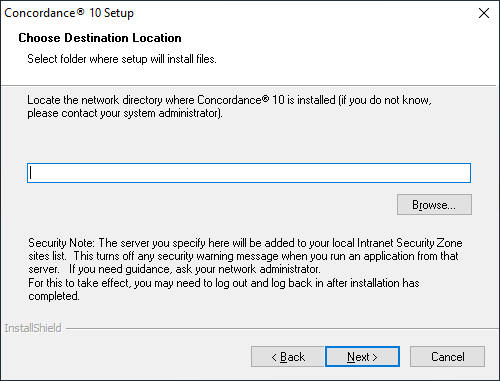
6.On the Choose Destination Location screen, click Browse. Navigate to the network location of the Concordance Server (for example \\<Server>\Program Files (x86)\CloudNine\Concordance 10). Click Next.
7.On the second Choose Destination Location screen, click Browse. Navigate to the network location where Concordance (ALLUSERSPROFILE) files reside. This is the same location as the Concordance 10 license file on the Concordance Server (usually \\<Server>\ProgramData\CloudNine\Concordance 10). Click Next.
8.Review your installation settings. Click Next to begin the installation.
9.Click Finish to exit the installer.
10.You can now use Concordance on this local workstation by selecting the Concordance 10 shortcut icon on the desktop.