Return to Section Header
Inserting an electronic discovery record in an existing folder of records may be useful when you want to add skipped files or when working with unsupported embedded files.
|
This process is enabled for Electronic Discovery (ED Loader) enabled cases only. |
![]() To Insert Electronic Documents
To Insert Electronic Documents
|
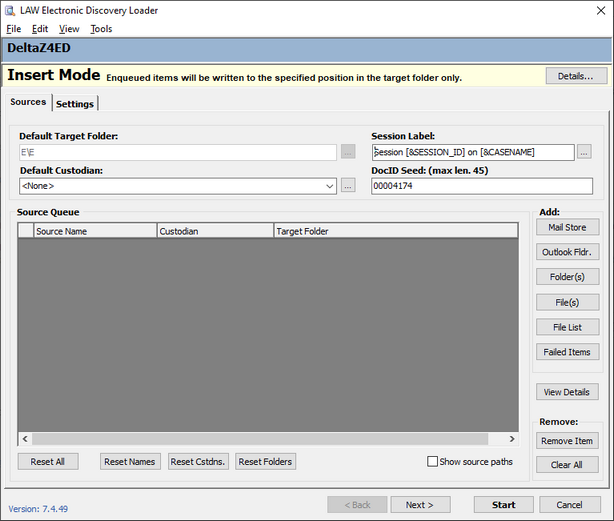
1.On the Edit menu, click Insert and then click one of the following: •E-Document(s), and then click Before Current to insert record(s) before currently selected record. •E-Document(s), and then click After Current to insert record(s) after currently selected record. •E-Document Attachment(s), and then click Before Current to insert record(s) as attachment to the record before the currently selected record. •E-Document Attachment(s), and then click After Current to insert record(s) as attachment to the currently selected record. ED Loader opens in Insert Mode. 2.Click Details. The Insert Mode Details dialog box appears, indicating where the document will be inserted. 3.Review the information and then click OK. 4.Select files to insert. 5.Set any desired options in the Settings tab. 6.Click Start and then click OK. The import process starts. The selected file(s) will be imported into the specified location in the case.
|
