This section of the LAW Configuration Utility covers the necessary database and Licensing configuration that affects all workstations running LAW in a shared or local environment.
At any time during configuration, you can use the Back and/or Next buttons at the bottom-right of the utility to either return to a previous step, or proceed to the next one.
Each step is named after the section it references, and provides it's own set of instructions. You can return to this page for future reference if any changes need to be made to your LAW Environment.
![]() Steps/Sections:
Steps/Sections:
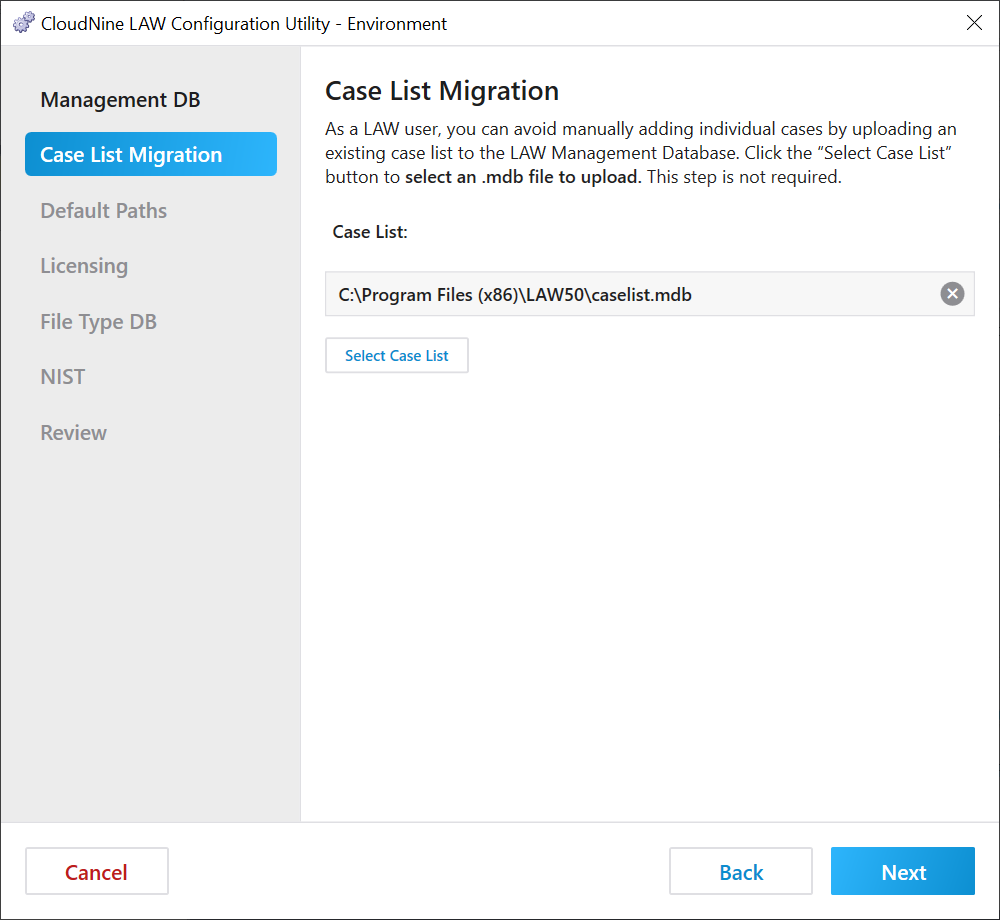
1.Case List Migration Configuration: The Case List (MDB file) is used to record the name and file path for all Case Files that have been opened or created in LAW. This list can be migrated from previous LAW installations, and will be stored on your SQL Server Database. A.Perform one of the following, depending on the needs of your current LAW Environment: 1)If you have a Case List from a previous installation of LAW that you would like to use in this Environment, then click on Select Case List to navigate to the desired MDB file and select it. 2)If you don't already have a Case List, or wish to use a new one for this Environment, you can leave the default MDB file as selected, then click next to skip the process. B.With your Case List now selected, you are ready to proceed. Click Next to continue.
|
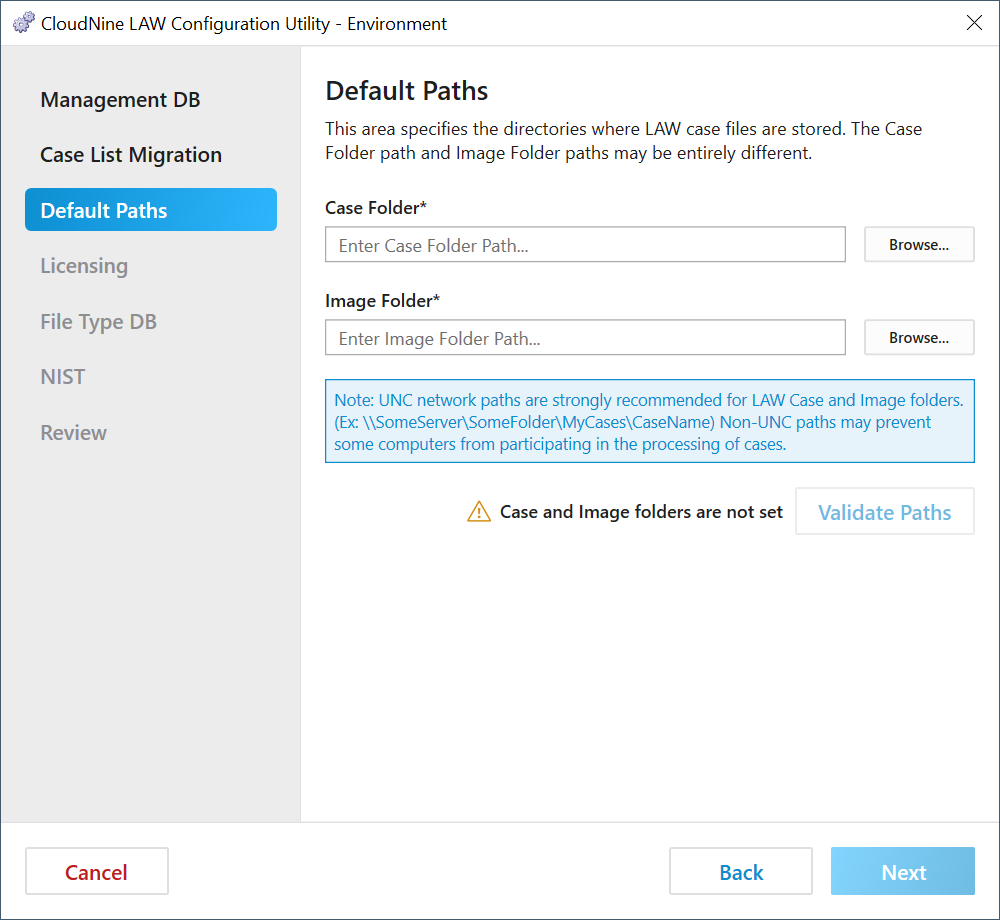
1.Default Paths Configuration:
A.Enter a Case Folder network/local path for LAW to use as its Case File storage location. You can also click Browse... on the right to navigate to a location and select it via a File Explorer. i.For shared network drives (i.e. a mapped drive), ensure that the path selected is identically mapped for all workstations running LAW. These locations are not recommended for Turbo Import cases. B.Enter an Image Folder network/local path for LAW to use as its image file storage location. You can also click Browse... on the right to navigate to a location and select it via a File Explorer. C.Click Validate Paths to ensure that shared network locations can be accessed correctly. This step is not necessary for local paths. D.When you are ready to proceed, click Next to continue. |
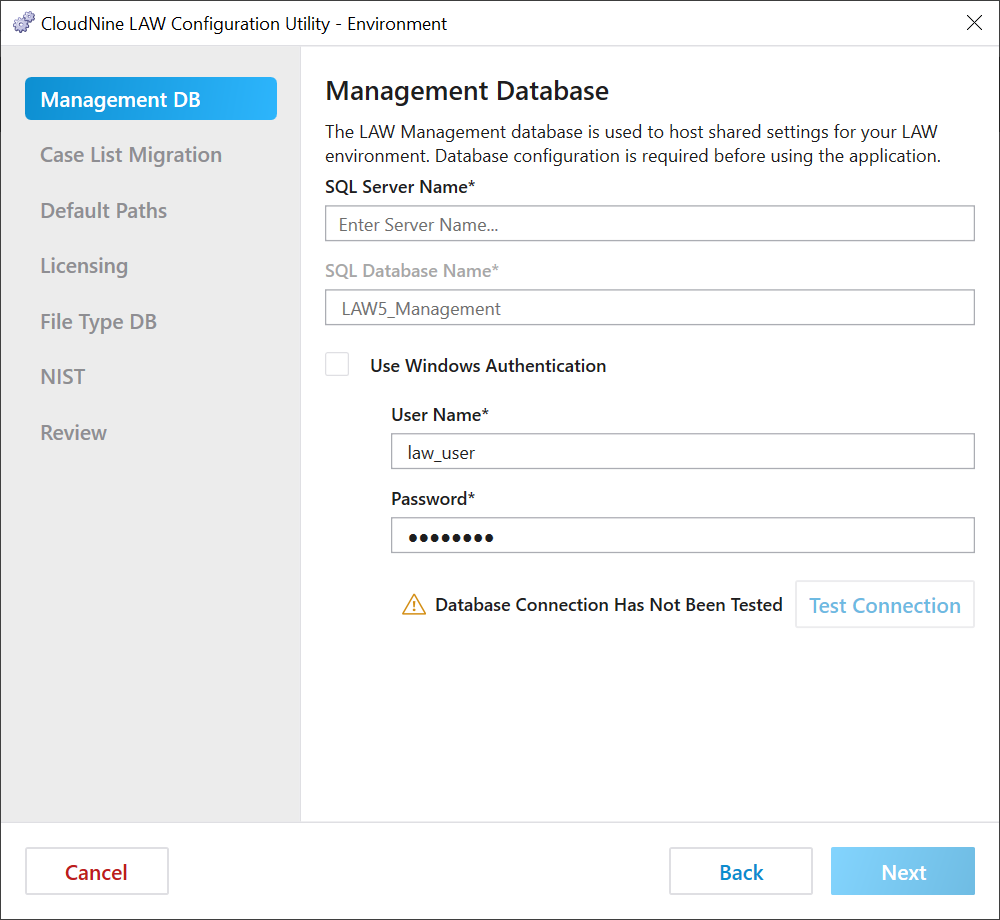
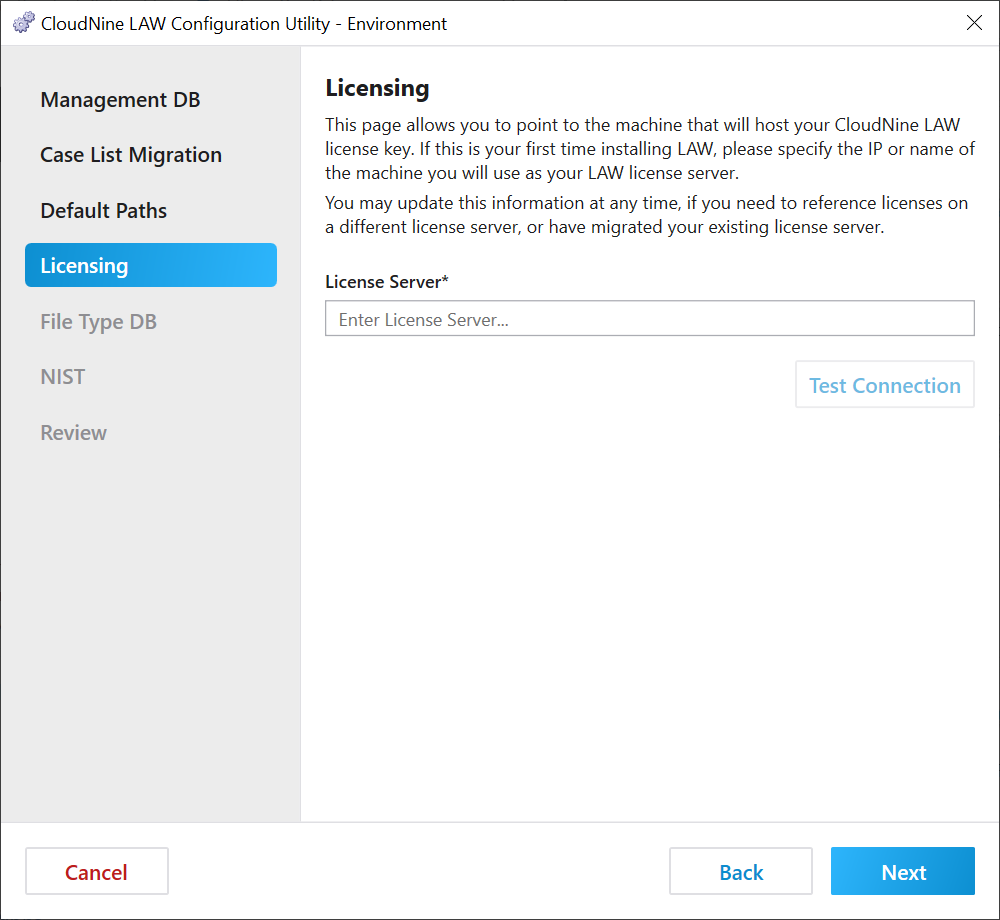
A.Enter one of the following, depending on which computer is being used as your License Server: 1)The word "localhost" (without quotations) if this computer is your License Server. 2)The name or network IP address of the computer that is your License Server. B.Click Test Connection to ensure proper connection with your License Server. If the connection fails, a prompt will appear indicating any issues. C.When you see Connection Test Succeeded, you are ready to proceed. Click Next to continue. |
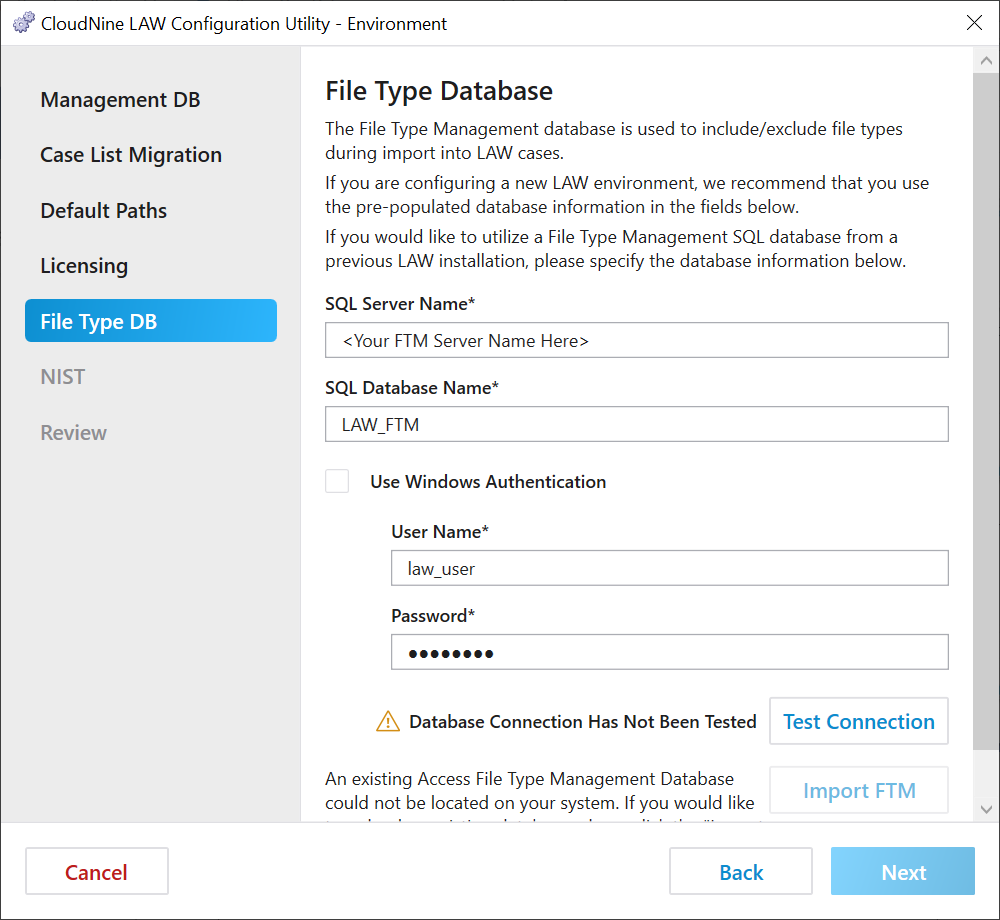
You can import a File Type Management database from a previous LAW installation, or a new one will be created automatically. A.Perform one of the following, depending on the needs of your current LAW Environment: 1)If you're not using a previous FTM database, then leave the SQL Server Name and user credentials (User Name and Password) exactly as they appear. This information should automatically match what was entered on the Management DB step. A new FTM database will be created automatically using SQL Database Name displayed. You can change this name if desired, or leave it at the default "LAW_FTM". Ignore the FTM not loaded warning message.
2)If you are using a previous FTM database, then enter the SQL Server Name and user credentials (User Name and Password) for the server on which the database is located, along with the SQL Database Name of that FTM database. Click Test Connection to ensure that the FTM is loaded properly (as will be indicated). You can also click Import FTM instead to navigate to the desired FTM database file and select it. B.When you are ready to proceed, click Next to continue. |
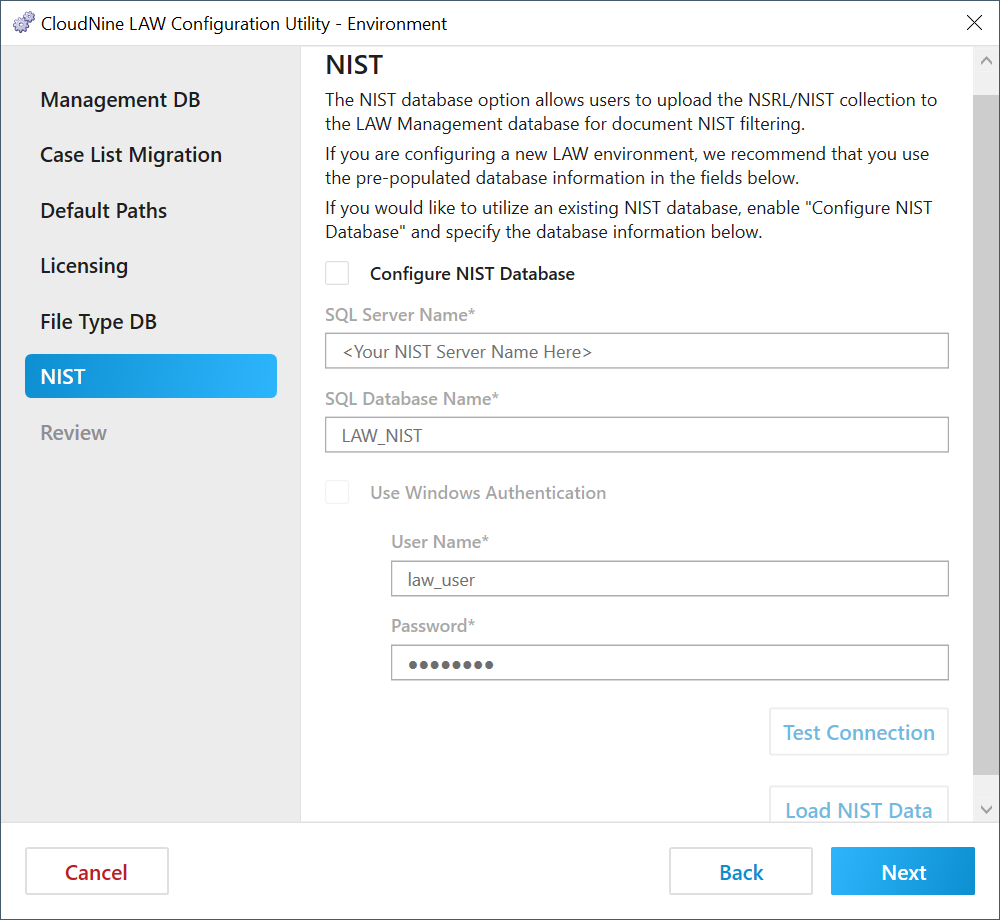
This step is optional, and only needs to be completed if NIST filtering will be applied when importing documents. You can import a NIST database from a previous LAW installation, or create a new one here.
A.Enable the Configure NIST Database option by checking the box on the left. B.Perform one of the following, depending on the needs of your current LAW Environment: 1)If you're not using a previous NIST database, then leave the SQL Server Name and user credentials (User Name and Password) exactly as they appear. This information should automatically match what was entered on the Management DB step. Click Load NIST Data and follow the instructions in the Load NIST Data window to download and apply the appropriate NIST files. A new NIST database will be created with these files, using SQL Database Name displayed. You can change this name if desired, or leave it at the default "LAW_NIST". 2)If you are using a previous NIST database, then enter the SQL Server Name and user credentials (User Name and Password) for the server on which the database is located, along with the SQL Database Name of that NIST database. C.Click Test Connection to ensure that the NIST database files are properly loaded. If the test fails, a prompt will appear indicating any issues. D.When you see NIST is loaded, you are ready to proceed. Click Next to continue. |
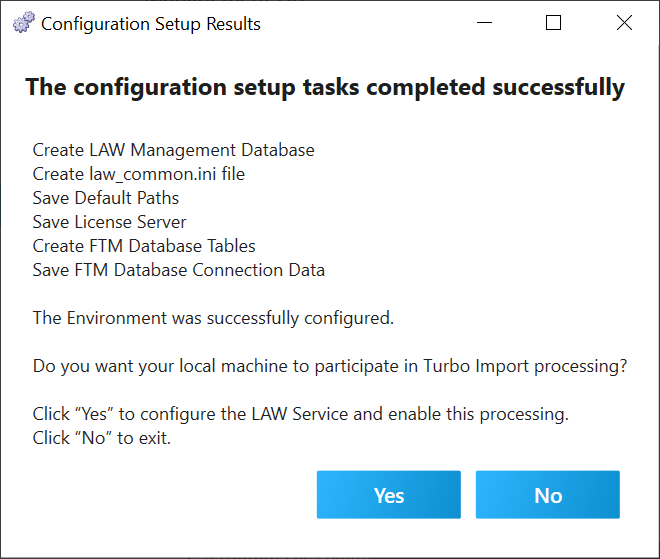
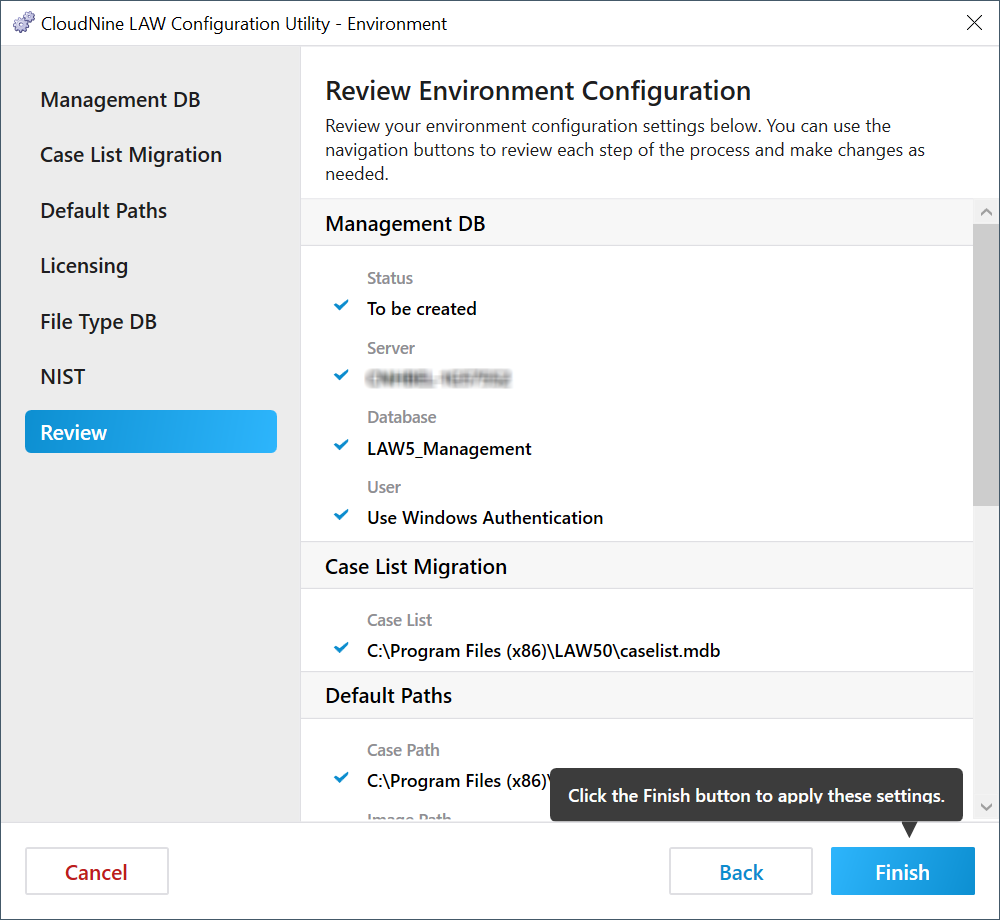
A.Take this chance to review all the configuration settings being applied to your LAW Environment. If something needs changed, you can go Back to any previous step and make the necessary corrections. B.If everything looks good, click Finish to apply these settings, and create the necessary databases on your SQL Server. |
A.Click one of the following, depending on whether or not you plan to use this computer for Turbo Import document processing: 1)If YES to Turbo Import setup on this computer, continue to . 2)If NO, then the LAW Configuration Utility closes, and you are now finished configuring LAW! |