Case Structure
Working With Folders
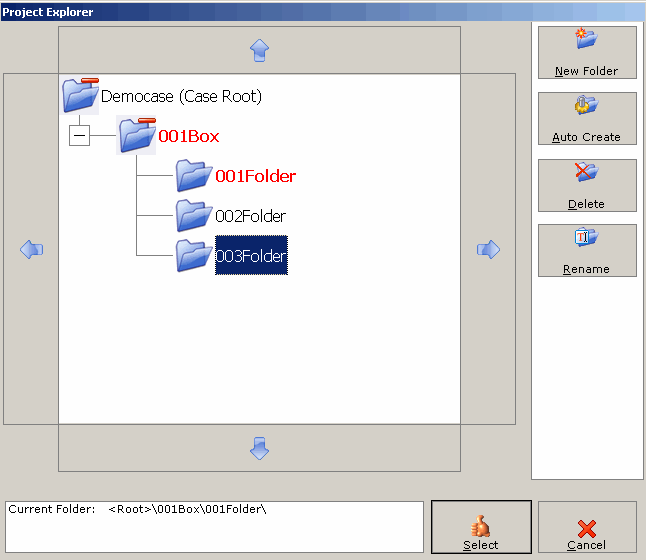
Folders are managed by the Browse button on the Main Interface of LAWtsi. This allows users to change the folder that is will be scanned into. Along with that, this is where creation, deletion and renaming of folders is performed.

Project Explorer - This dialog is where folders are managed.
To change folders in LAWtsi, select the folder desired in the Project Explorer.
There are two ways to create folders in LAWtsi. To do this, click either the New Folder or Auto Create buttons.
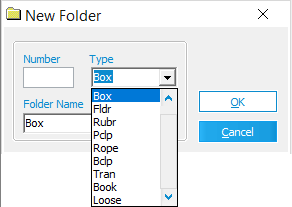
•New Folder - The New Folder button will display the New Folder dialog. This allows users to creates a new folder with any folder name using either the keyboard or the Interactive Keyboard.
•Auto-Create Folder - The Auto-Create Folder button automatically create the next logical folder on the same level as the selected folder. This will increment the numeric value within the folder name. For example, in a new case there is one folder called "001Source", when the Auto-Create Folder button is clicked it will create a folder called "002Source" on the same level as the first folder. Now if the button would be clicked again, LAWtsi would create a folder called "003Source" continuing on in a logical order.

New Folder dialog - This dialog is used to create a new folder.
To delete a folder, first select a folder. Then click the Delete button. Doing this will delete the folder and all of the documents within the folder.
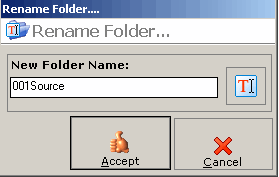
To rename a folder, first select a folder. Then click the Rename button. This will display the Rename Folder Dialog which allows users either type in the new folder name with the keyboard or the Interactive Keyboard.

