A redaction is used when confidential information needs to be hidden in a document for production. Redactions associated with the produced document cannot be edited or removed. Once the document is produced, any text or images concealed by a redaction cannot be viewed, copied, or searched.
|
If you need to export the body text for a production, you will need to re-OCR the images after the redactions have been burned in. |
The Redaction tool allows you to place one or more redactions (rectangular boxes) over various areas of sensitive information within a document. In Concordance Desktop Viewer, the redaction appears transparent to allow you to make sure the redaction covers the information you want to conceal. When a production is executed, the redaction becomes opaque concealing the information underneath.
|
When redacting a bullet or numbered list, it is recommended that you always apply redactions using the Rectangle tool. This ensures that the list content is completely redacted when the image is produced and/or printed. Begin drawing the rectangle in the margin, outside the text area, to ensure all information is redacted successfully. |
Since PDF files are not flattened or burned, when producing PDF files the redacted information is removed from the file before the redaction is placed. The production process physically removes the hidden text from the produced file, the original document is not altered.
|
When printing CNV documents, redacted documents print with transparent redactions making the text underneath the redaction visible. If you want redactions to print opaque, you need to use the Production tool in Concordance Desktop to produce the documents and then print the output documents. For more information see Productions. |
There are two ways you can apply a redaction:
•Draw a redaction box over an area of the document or image
•Draw a single redaction line across a sentence or part of a sentence
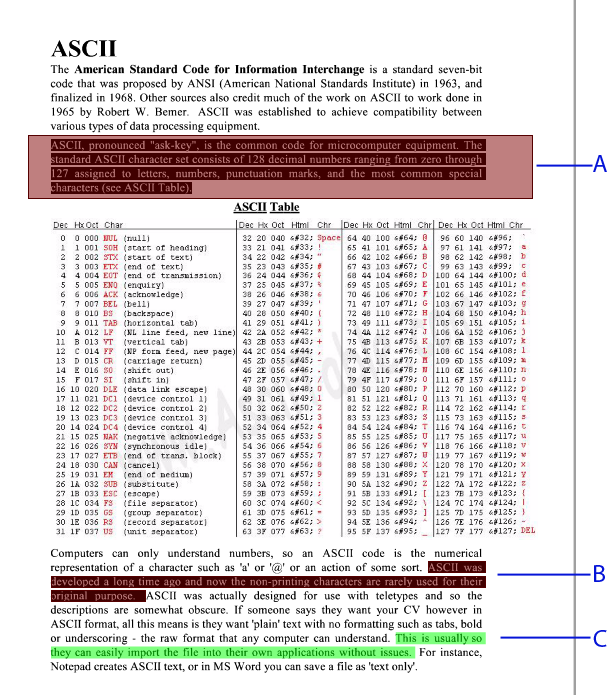
A) Redacted paragraph B) Redacted text within a paragraph C) Highlighted text
To Add a Redaction
1.On the Markup toolbar, click the Redaction tool ![]() .
.
2.Using the Redaction tool, do any of the following:
•To redact sentence-level text, click within the text and draw the tool along the text.
•To redact a section of a document, click outside the text area and draw a rectangular box around the text.
•To redact a list, click outside the margin of the list, and draw a rectangular box around the text.
|
We recommend that you use different colors when applying redactions and highlighting text. This ensures that the markup type can be easily differentiate when viewing a document or image. |
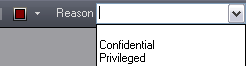
3.With the redaction selected, on the Markup Properties toolbar, locate the Reason list.
4.In the Reason list, do one of the following and then press Enter:
•Type a new reason.
•Click an existing reason from the list.
|
If you do not enter a reason for the redaction and press Enter or select a reason from the list, the current redaction reason shown in the Reason list will be applied to the redaction. |
|
The redaction list displays only 40 redaction reasons based on alphabetical order. |
4.Navigate to another document to save the redaction.
To Change the Properties of a Redaction
1.On the Markup toolbar, click the Selection tool ![]() .
.
2.Select the redaction you want to change.
3.On the Markup properties toolbar, do any of the following:
•To change the redaction color, click the Color button ![]() , and select a new color from the color picker.
, and select a new color from the color picker.
•To change the redaction reason, type a new reason or select it from the list, and then press Enter.
4.Navigate to another document to save the redaction.