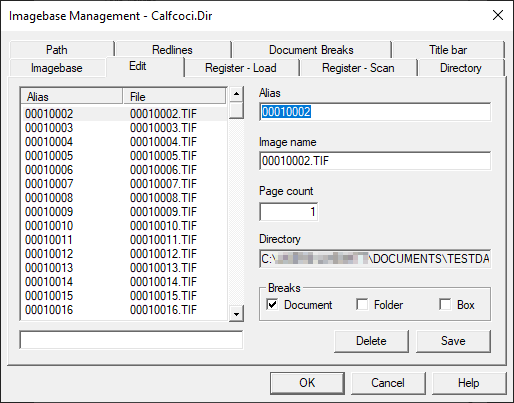
If you do not have a corresponding image load file, you may want to register an imagebase by scanning images from a disk or directory source. Once the images are registered, you want to make sure that you create aliases and set the document breaks prior to document review.
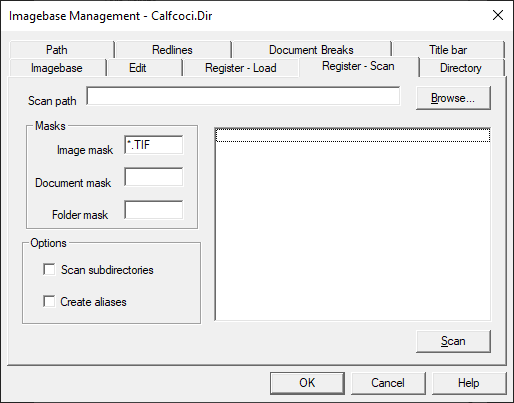
Use the Register - Scan tab in the Imagebase Management dialog in Concordance Image to scan directories and register applicable image files in the database. Registering an imagebase by scanning the images from disk is the easiest way of creating an imagebase.
|
All file names must be unique no matter where they are located. In other words, you cannot register images from two different folders with the same file structure and file names even if the images are different. In order to create an imagebase from this scenario, you must create a .log file and use unique aliases to distinguish between images with similar file names. |
|
If the image represents the first image in a set of images, the exact value, 00001, must be the value in the image key field for your Concordance database for Concordance Image to find the image path and name in an imagebase. To eliminate any confusion, an alias is also matched with information that is used to synchronize Concordance and Concordance Image. Run the Create Alias from Filename CPL. The images link automatically based on the Image field. Key and image fields are defined on the New or Modify dialog box. |
To Scan Images
1.In Concordance Image, on the Tools menu, click Imagebase Management.
2.Navigate to and Open the database's .dir file.
3.The Imagebase Management dialog displays.

4.Click the Register - Scan tab.

5.Click Browse, navigate to the folder containing the files you want to scan, and click Open.
6.The Image mask field defaults to *.TIF. Only the image files matching the file type entered in the Image mask field will be registered in the imagebase. Update Image mask to include the files you want to scan. You can use *.* to include all image files from the folder.
7.If desired, in the Document mask field, type the applicable document mask. Any image matching the Document mask will be marked as a document break.
8.To use a folder mask, in the Folder mask field, type the applicable folder mask. Any image matching the Folder mask will be marked as a folder break.
|
If you are using a Document mask or Folder mask, make sure that the image also qualifies as an image based on the Image mask. |
9.Select Scan subdirectories if you want to include files in folders underneath the one selected in Scan path.
10.Selecting Create aliases will automatically generate aliases for images in your imagebase during the scan based on the field designated as the image field.
11.Click Scan to initiate the register scan. When complete, the dialog displays the total number of files registered for each scanned subdirectory.