The Answer Center provides the minimum and recommended versions of SQL for use with your specific version of CloudNine™ LAW. It is recommended to consult the before installing SQL.
Suggestions for configuring your instance of SQL for use with LAW
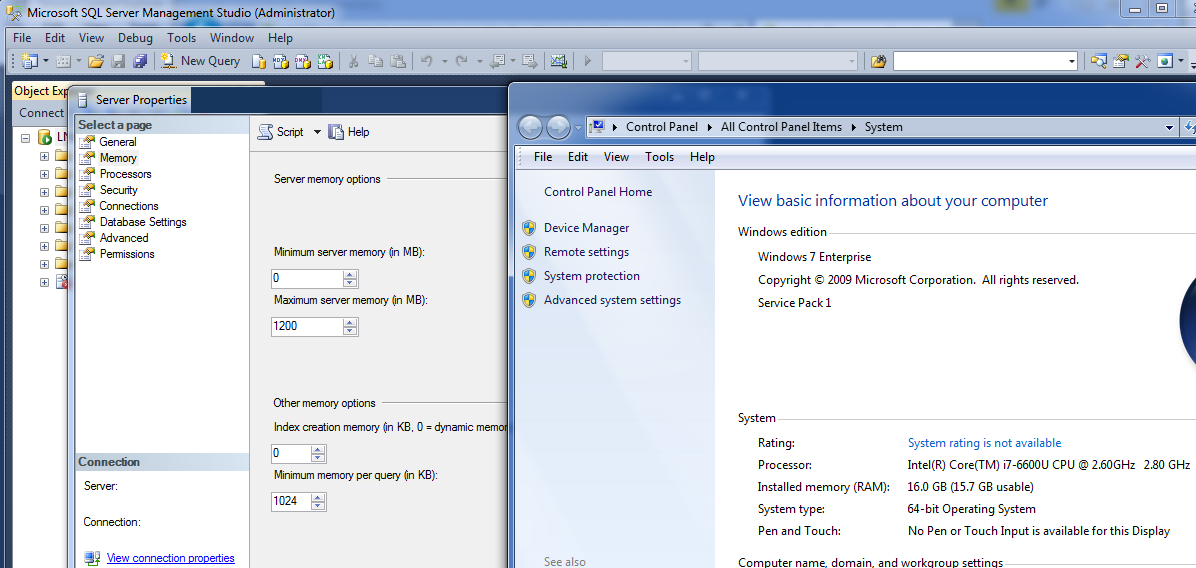
•SQL Server max memory allocation is uncapped by default. This should be capped at approximately 80% of the physical memory allocated to the machine. For example, a server with 32 GB of physical RAM • should be capped in SQL Server Management Studio at 25600 MB.
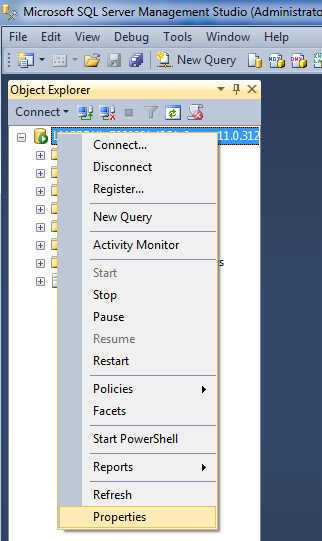
Configuring you SQL Server max memory allocation
•Leave the “auto create statistics” and “auto update statistics” options on for all user databases. Only in very rare cases should these be turned off, and if they are turned off, then you must manually update the statistics yourself. Please see Microsoft's website for more information.
•Do not use the “auto shrink” database option, as it can waste SQL Server resources unnecessarily and contribute to index fragmentation. Instead, if you need to shrink a database, do so manually. For more information please see Microsoft's website on Considerations for the "autogrow" and "autoshrink" settings.
•Do not rely on AUTOGROWTH to automatically manage the size of your databases. Instead, proactively monitor and alter database size as circumstances dictate. Only use AUTOGROWTH to deal with unexpected growth For more information please see Microsoft's website on Considerations for the "autogrow" and "autoshrink" settings. |

Suggestions for SQL maintenance
•Set up daily full backups of your databases. You can use a job to schedule your backups as long as you have SQL Agent service running. •Perform full backups during periods of low user activity to minimize the impact of backups on users. •Periodically perform "test backup restores" to ensure that your backups are good and can be restored. •Store backups off site and in a secure location.
|
Enable Named Pipes Protocol
1.Open SQL Server Configuration Manager
2.Under SQL Server Network Configuration > Protocols for MSSQLSERVER
3.Find Named Pipes, right click and enable.
4.Restart the SQL service.
Opening Windows Firewall Ports for SQL
Enable TCP/IP
1.Open SQL Server Configuration Manager.
2.In the left pane, expand SQL Server Network Configuration.
3.Click Protocols for <SQL Server instance name>.
4.In the right pane, right-click TCP/IP and select Enable.
5.A warning dialog displays with the message Any changes made will be saved; however, they will not take effect until the service is stopped and restarted. Click OK.
6.In the left pane, click SQL Server Services.
7.In the right pane, right-click SQL Server <SQL Server instance name> and select Restart.
Open port 1433
1.Open Windows Defender Firewall with Advanced Security.
2.Click Inbound Rules.
3.Under Actions, click New Rule.
4.Select Port and click Next.
5.Select TCP.
6.Select Specific local ports, enter 1433, and click Next.
7.Select Allow connection and click Next.
8.Accept all defaults Domain and Private and click Next.
9.Enter a Name for the rule.
10.(Optional) Enter a Description for the rule.
11.Click Finish.
Open port 1434
12.Open Windows Defender Firewall with Advanced Security.
13.Click Inbound Rules.
14.Under Actions, click New Rule.
15.Select Port and click Next.
16.Select UDP
17.Select Specific local ports, enter 1434, and click Next.
18.Select Allow connection and click Next.
19.Accept all defaults Domain and Private and click Next.
20.Enter a Name for the rule.
21.(Optional) Enter a Description for the rule.
22.Click Finish.
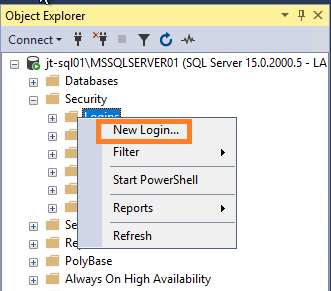
Manually Add System Account into SQL with Full Access
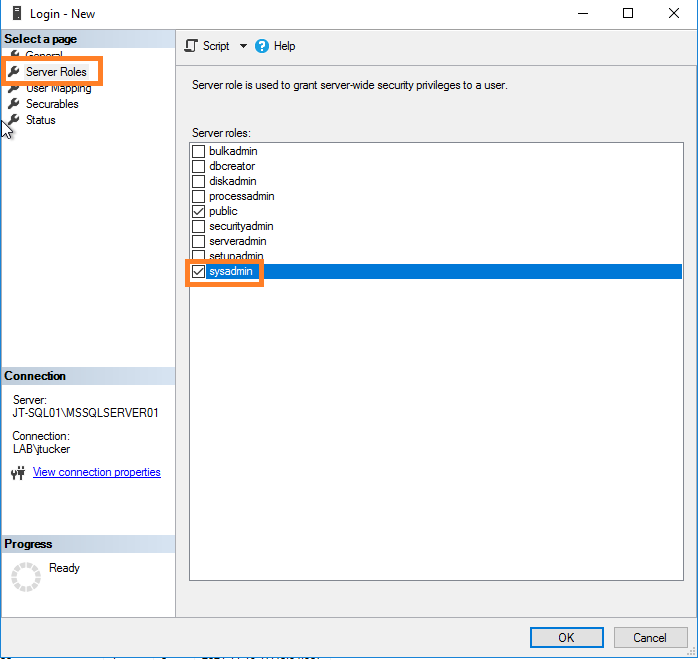
Add the System/Network Account into SQL and with Full Read, Write and Modify access.
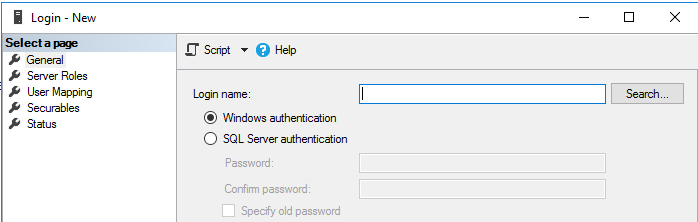
On the new login screen choose ‘Search’
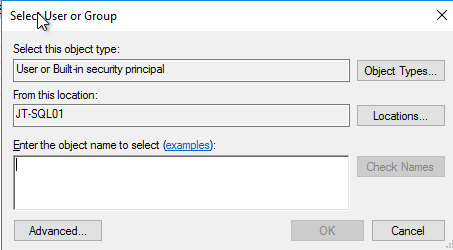
On the search screen ensure you are searching for the Entire Directory, type in the username, check Names, then choose ok.
Use this method when using SQL Server for other applications in addition to CloudNine™ LAW. This option helps to prevent users of SQL Server from accessing and modifying any other existing databases yet provides additional security for your databases. To create a custom SQL user account: · Setup a SQL Server user with create/modify permissions. · The username and password will be referenced when accessing SQL (Database management, NIST storage, File Type Database Management, and for case list storage). User: (Custom SQL login following SQL Guidelines) Pwd: (Custom password following SQL Guidelines) When using this option, the security mode for SQL Server must be set to SQL Server and Windows for mixed-mode authentication.
|