Once you have confirmed the system and licensing requirements you are ready to install CloudNine Collection Manager.
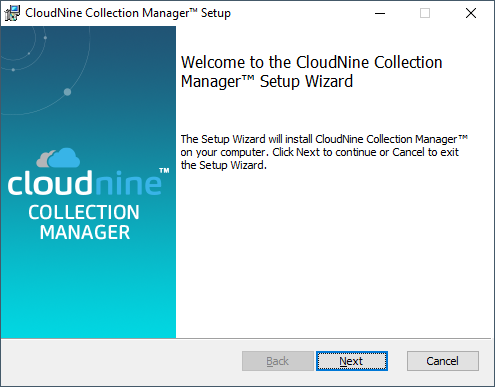
1.Run the installation .msi file. A new window will open displaying the installation welcome screen. Click Next.
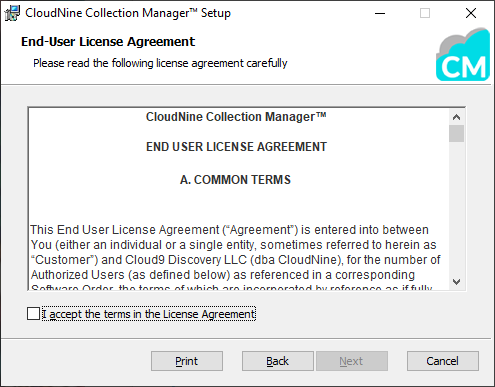
2.The EULA is displayed. Review the license agreement, select the I accept the terms in the License Agreement check box, and click Next.
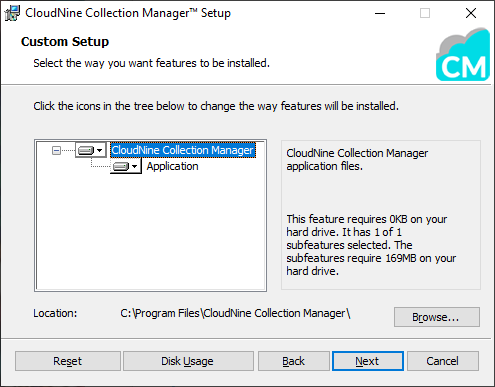
3.The Custom Setup screen is displayed. If you want a different installation Location, click Browse and choose the appropriate folder in the window that is displayed. When the Location is correct for your environment, click Next.
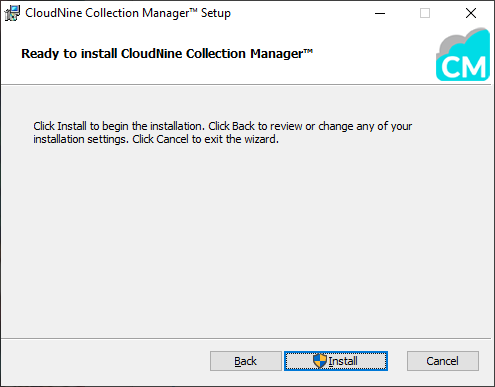
4.Click Install to complete installing CloudNine Collection Manager.
|
Depending on your Windows UAC (User Account Control) settings, you may see a dialog prompt during installation asking you to confirm that you want to allow changes to your computer. You must click Yes to allow the Collection Manager installer to complete the setup of your computer. |
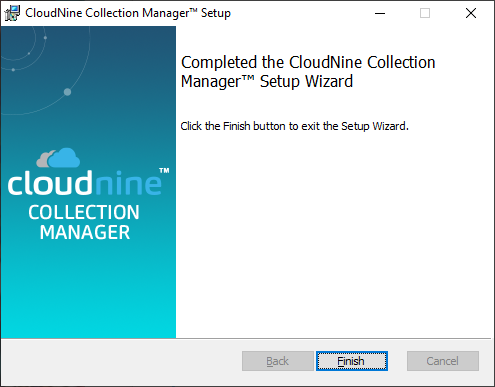
5.After installation finishes a completion screen is displayed. Click Finish to exit the setup.