In order to successfully launch LAW, you will need access to any License Server hosting an available LAW License. The License Manager utility is used to designate License Servers, activate your software Licenses (also known as Product Keys) on those servers, and track the available Seats for those Licenses.
The current version of the License Manager can be found inside of the LAW install. i.e. to install the License Manager you just need to install LAW. However, you do not need to set up LAW to work on the License Server.
The Sentinel RMS License Manager must be installed on any computer operating as a License Server, which may also be a LAW workstation if desired.
![]() For instructions on installing the Sentinel RMS License Manager, refer to the Sentinel Installer topic.
For instructions on installing the Sentinel RMS License Manager, refer to the Sentinel Installer topic.
Once the Sentinel RMS License Manager has been installed on the intended License Server, you are ready to activate your LAW Licenses on it. The instructions below will guide you through this process:
NOTICE: You will need an internet connection to complete these steps.
1.From any computer with LAW installed, launch the License Manager utility by clicking on Start (Windows Key) > CloudNine LAW > License Manager from the Windows Taskbar.
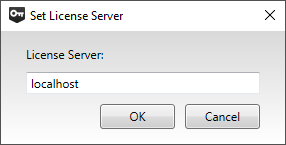
2.Since the License Server has yet to be assigned, the Set License Server window will automatically open. From here, enter one of the following into the box provided:
a.The word "localhost" (without quotations) to assign this computer as the License Server. Click OK to continue.
b.The name or network IP address of whichever computer will be assigned as the License Server. Click OK to continue.
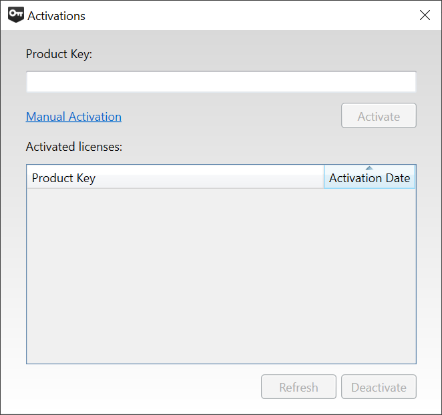
3.With a License Server now assigned, click on the Activations button at the bottom-right to open the Activations window. From here, enter your Product Key (EID) into the appropriate box at the top, and then click Activate.
i.If you need to perform a Manual Activation due to lacking an internet connection at this time, please Contact Customer Support.
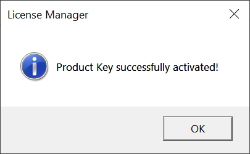
4.Wait for the process to complete. When finished, a License Manager dialog will appear, informing you of a successful activation. Click OK to close it.
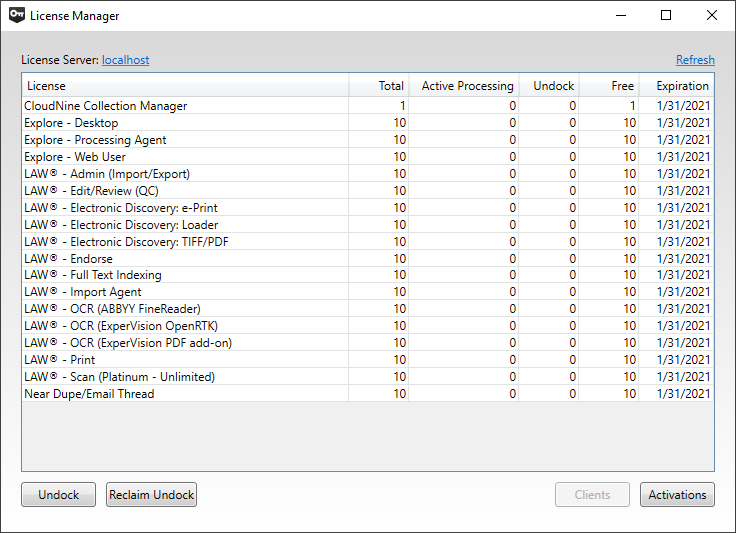
5.The Activations window will automatically close, and your software Licenses will now appear listed in the main License Manager utility window. The following information is presented:
i.The License Types that are available, listed under the License column.
ii.The total number of Seats provided for each License Type, listed under the Total column.
iii.The number of available Seats remaining for each License Type, listed under the Free column.
iv.The date that each License Type will expire, listed under the Expiration column. If multiple copies of the same License Type are activated, then this column will display whichever expiration date comes first.
6.Repeat steps 3 and 4 for each additional Product Key (EID) that requires activation on this License Server. When you're finished activating your Licenses, you can safely close the License Manager utility.
7.It is recommended that you now configure your Environment and Local Machine for LAW through the LAW Configuration Utility.
![]() Instructions can be found in the LAW Configuration Utility topic.
Instructions can be found in the LAW Configuration Utility topic.