Prerequisites for Installation
•CloudNine™ Explore Web is intended for 64-bit systems only and should fail on 32-bit systems.
•You must have at least IIS 6.0 installed in order to install Explore Web.
•Explore Web requires an installation of CloudNine™ Explore desktop. If you have never run Explore desktop previously, you should run it at least once before installing Explore Web to allow the appropriate database to be created.
IIS Installation
Windows 10
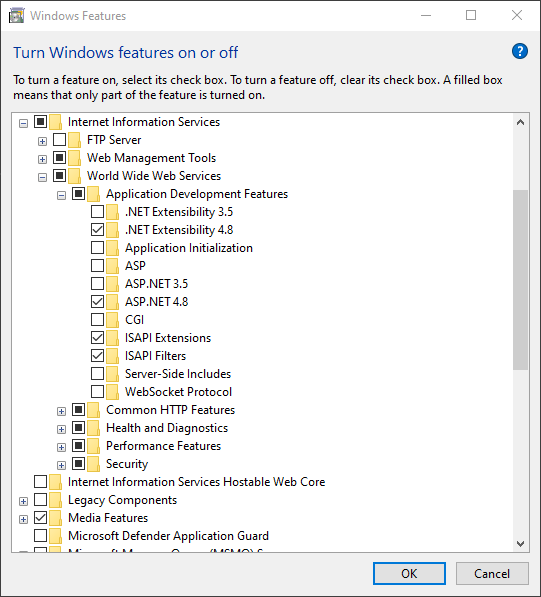
1.Open the Windows Features dialog.
2.Expand the Internet Information Services feature.
3.Turn on both the Web Management Tools and World Wide Web Services features.
4.Expand World Wide Web Services, and ensure that both .NET Extensibility 4.8 and ASP.NET 4.8 are also turned on.
5.Click OK to close the Windows Features dialog and accept these changes.
Windows Server
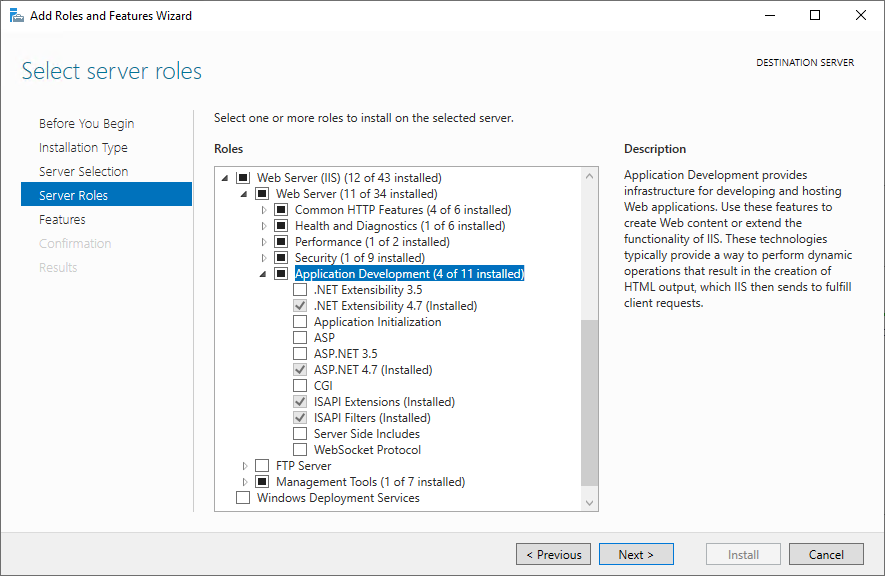
1.Run the Add Roles and Features Wizard.
2.Under Server Roles section, add the Web Server (IIS) feature.
3.Expand Web Server (IIS), then Web Server, and finally Application Development.
4.Ensure that both the .NET Extensibility 4.7 and ASP.NET 4.7 features are also added.
5.Finish the Add Roles and Features Wizard to save these changes.
CloudNine™ Explore Web Installation
1.Run the CloudNine Explore Web installation executable. The Welcome screen displays.
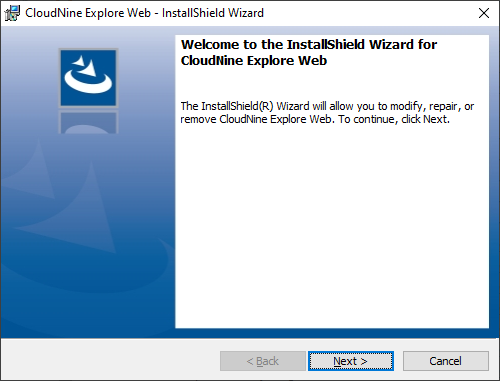
2.Click Next. The Destination Folder screen displays.
3.By default CloudNine Explore Web installs in <SysDrive>:\inetpub\wwwroot\EdaWeb. You can click Change to alter the installation location. When you have your installation location specified, click Next to continue. The IIS Application Configuration screen displays.
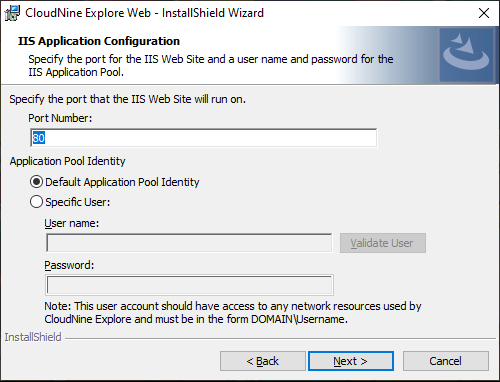
4.The Port Number field defaults to 80. The default value, 80, may conflict with the default IIS site configuration. The Application Pool Identity is the identity that the IIS application will run as. Select one of the following options:
•Default Application Pool Identity - The Default Application Pool Identity option uses the default user set up when IIS was initially configured. This default user usually has rights on the local system but not on a network. The Default Application Pool Identity option should only be used if the CloudNine™ Explore data will be hosted locally on the same server where CloudNine™ Explore Web is installed.
•Specific User - The Specific User option allows CloudNine™ Explore Web to be run under a specific user account. This option should be used when CloudNine™ Explore Web will require access to data stored on a network resource. The user specified should also have access to the data location for CloudNine™ Explore.
oIf you selected the Specific User option, in the User name and Password fields, type the user name and password for the user with access to the domain and network containing the CloudNine™ Explore data. Click the Validate User button.
|
The Validate User button confirms the user credentials for the domain, not the user's network access to CloudNine Explore resources. |
5.Click Next. The Ready to Install screen displays.
6.Click Install. The installation completes and the Wizard Completed screen displays.
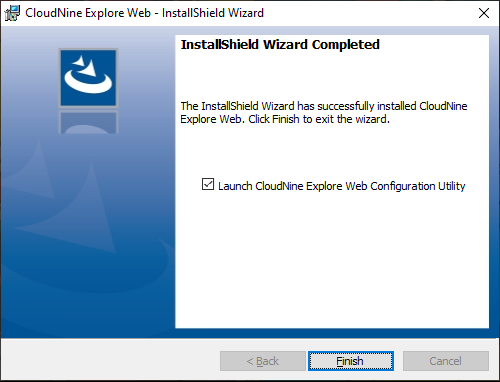
7.You will need to configure the database settings and create the initial administrator account for CloudNine Explore Web using the CloudNine Explore Web Configuration Utility. To proceed with configuration, leave the Launch CloudNine Explore Web Configuration Utility box checked and click Finish. If you want to complete configuration later, deselect the check-box and you can run the configuration utility from Windows Start at a later time.
CloudNine Explore Web Configuration Utility
The CloudNine™ Explore Web Configuration Utility is used to setup the management store and the initial administrator for CloudNine™ Explore Web after installation. The CloudNine™ Explore Web installation adds the utility to the CloudNine™ LAW programs location and it can be accessed from the Start Menu. The utility can be run at any time to configure the Management Database, but will only create the initial administrator if there are no other administrators in the Management Database.
1.Run the Explore Web Configuration Utility. This will run automatically after installation of Explore Web if you select Launch CloudNine Explore Web Configuration Utility. Alternately you can run the utility by selecting CloudNine Explore Web Configuration Utility from the CloudNine LAW folder in Windows Start.
2.The Management Configuration screen displays.
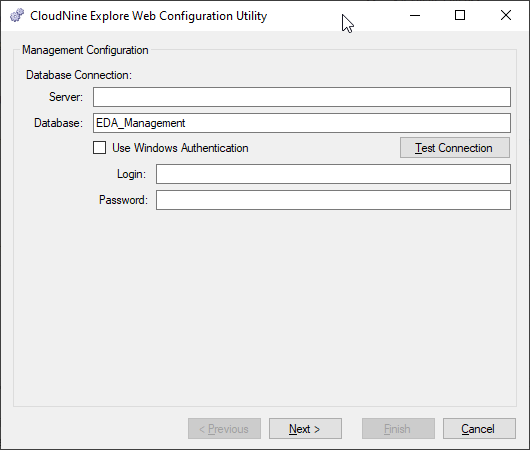
3.For Server, enter the computer name for the CloudNine Explore SQL database server. You can use localhost as your Server if your database server is running on the same computer where the CloudNine Explore cases are created.
4.Database defaults to EDA_Management. This needs to be the database containing the cases that CloudNine Explore Web will be accessing.
5.Select your authentication method:
a.Select Use Windows Authentication if you want to use your current Windows login as credentials for connecting to SQL Server.
b.You can use SQL Authentication by deselecting Use Windows Authentication and then entering valid Login and Password details for a user account that has access to the database.
6.Click Test Connection to verify the connection to the database. A message displays indicating whether the connection succeeded. If the connection failed, review what was entered as your Server and contact your database administrator to verify you have the correct information. Also the supplied credentials (either Windows login or specified Login/Password) must have the SQL Server dbcreate permission enabled for it.
7.Click Next. The Create Administrator screen displays.
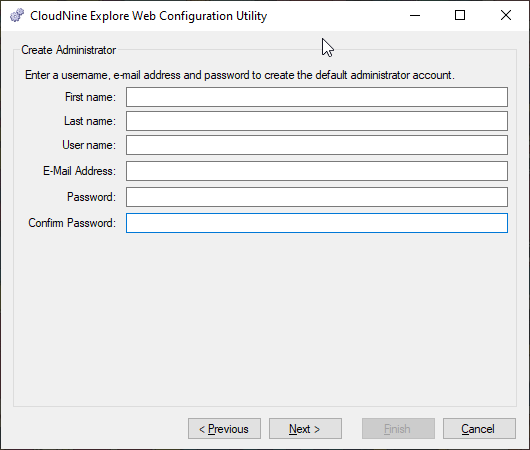
8.If this is the first time running CloudNine Explore Web Configuration Utility, you will be prompted to input information to create the initial administrator for CloudNine Explore Web. All fields on the Create Administrator screen are required, and the password fields must meet CloudNine Explore Web password requirements.
a.Enter the administrator's First name.
b.Enter the administrator's Last name.
c.Enter the administrator's User name for logging into CloudNine Explore Web.
d.Enter the administrator's E-mail Address.
e.For Password and Confirm Password, enter the administrator's CloudNine Explore Web password.
|
Password Requirements: •Must be at least 8 characters, including spaces •Cannot exceed 150 characters •Must contain one number •Must contain one special character from this list: ` ~ ! @ # $ % ^ & * ( ) - _ + = [ ] { } | \ / : ; " '< > , . ? •Must not be the same as your previous password •Must not contain your user name or e-mail address |
9.Click Next. The Summary screen displays.
10.Review the details displayed. If you need to edit any settings, click Previous to go back and make applicable changes. Click Finish to complete the configuration. The database settings will be added and if no administrators exist, the initial CloudNine Explore Web administrator is created.
Additional Steps for CloudNine Explore Web Setup
Once the CloudNine™ Explore Web installation and configuration is completed, there are several additional tasks that may need to be performed. Details for these tasks are in the following sections.
•Setup HTTPS for the CloudNine Explore Web Site
•Configure Permissions for Error Logging
•Resolve conflicts in IIS Installation
Setup HTTPS for the CloudNine Explore Web Site
It is highly recommended to have IIS only serve CloudNine™ Explore Web using HTTPS. This can be configured in Internet information Services Manager (Start > Run > inetmgr).
|
This process is optional but highly recommended to be configured by your IT/security department. |
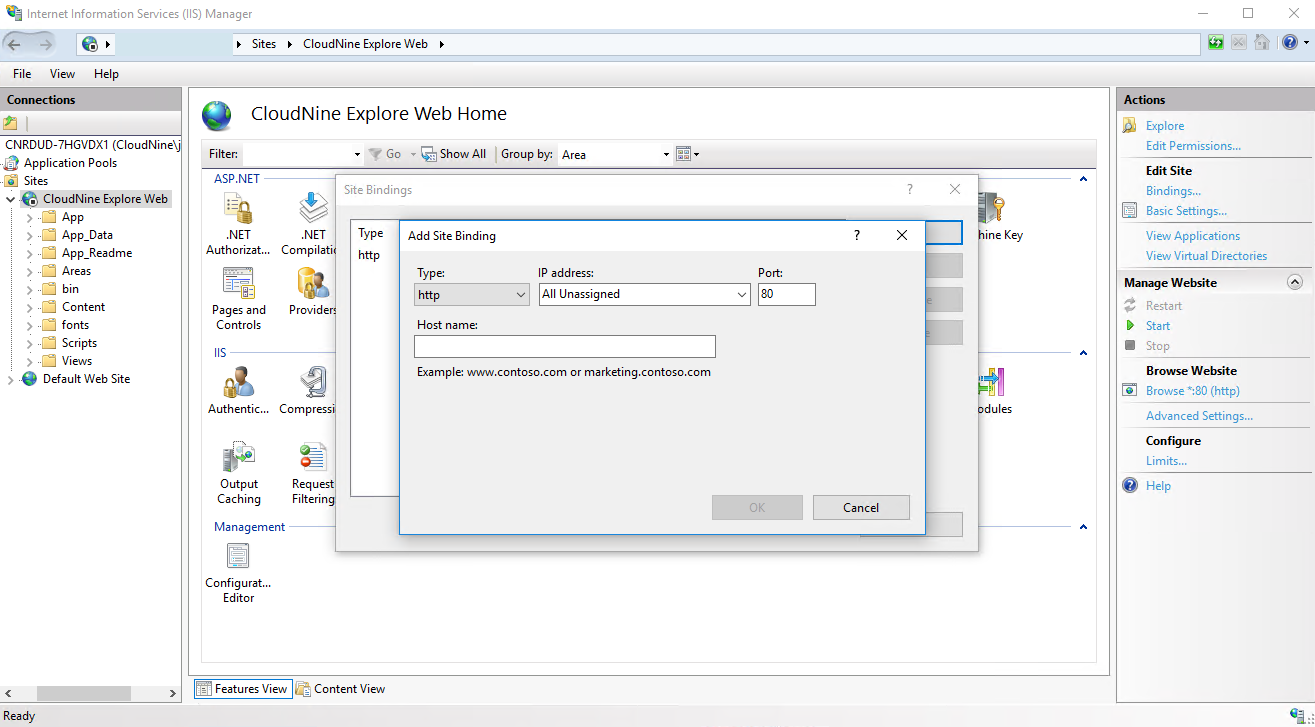
1.Configure the site bindings for https. If your organization has a certificate already setup with a certificate authority you can use that. Alternatively, if you are hosting internally and do not have a certificate with an authority, you can setup a machine certificate. It is recommended to check with your IT or security team to determine the appropriate certificate to use.
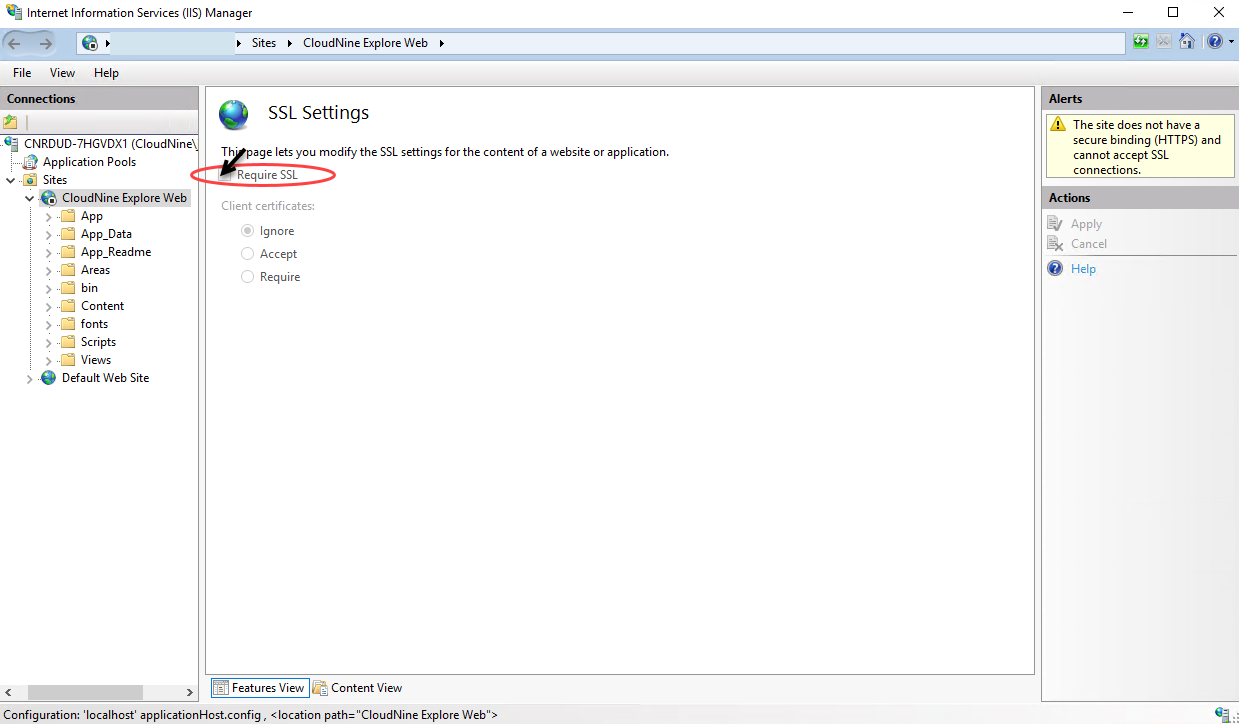
2.Configure IIS SSL settings to require SSL. From Internet information Services Manager (Start > Run > inetmgr), select SSL Settings for the CloudNine™ Explore Web site and select the Require SSL check box.
3.Additionally, the cookies should be setup to be httpOnly and Secure. To configure this, edit the web.config file and add the line below to the <system.web> section
➢<httpCookies httpOnlyCookies="true" requireSSL="true" />
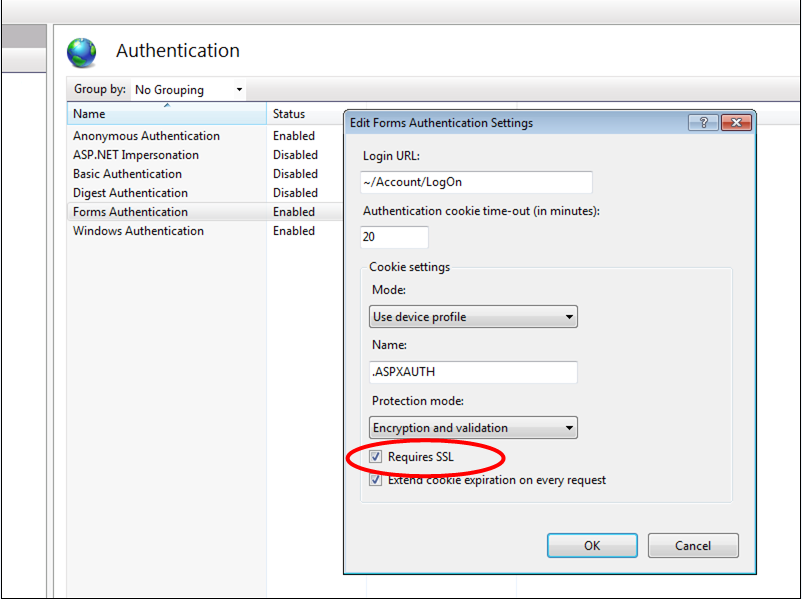
4.After editing the web.config file, the Forms Authentication for the site has a setting for SSL cookies that overrides the web.config setting and needs to be changed. From Internet information Services Manager (Start > Run > inetmgr), select the IIS Authentication for the CloudNine™ Explore Web site. Edit the Forms Authentication and select the Requires SSL check box.
Configure Permissions for Error Logging
The App_Data\XML_Logs directory must have its permissions changed to allow read/write/modify access to it by the account that was configured for the application pool of CloudNine™ Explore Web. The App_Data\XML_Logs is located in the installation folder for example: C:\inetpub\wwwroot\EdaWeb\App_Data\Xml_Logs.
CloudNine™ Explore Web is configured to use IIS httpErrors for friendly error page redirection and to use ELMAH for error logging and display.
As indicated, the App_Data\XML_Logs directory must have permissions changed to allow read/write/modify access to it by the account that was configured for the application pool of CloudNine™ Explore Web.
As configured, the ELMAH logs can be viewed by a browser running local on the Web server by the following url: https://localhost/elmah.axd
The ELMAH url presents the error logs in a nicely formatted html display. You may also view the error files in their raw xml format by navigating to the App_Data\XML_Logs directory under the Web site with Microsoft Windows Explorer. Each error is recorded in its own .xml file.
|
Although it is possible to re-configure ELMAH to allow remote viewing of the error logs, it is highly recommended for security reason to keep viewing restricted to local access only. |
Resolve conflicts in IIS Installation
Installing to a new IIS installation will likely have the default Web site using the same ports that CloudNine™ Explore Web is setup to use. This conflicts with other sites hosted in the same server and will need to be resolved.
For example, CloudNine™ Explore Web may need to be started and the default Web site in IIS may need to be stopped.