Once you have confirmed the system and licensing requirements you are ready to install Data Wrangler.
1.Start by running the Data Wrangler MSI installation file as an administrator (right-click > Run as administrator). Click Yes when prompted to allow the app to make changes to your device.
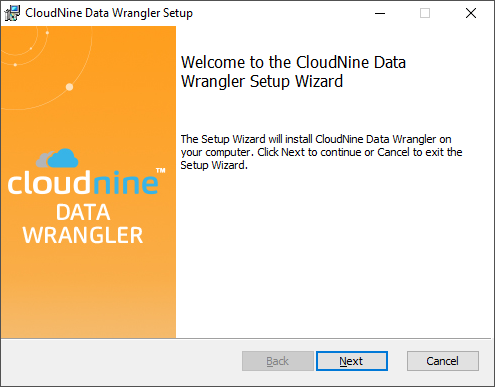
2.The Setup Wizard will open, and you will be brought to the Welcome screen. Click Next to proceed.
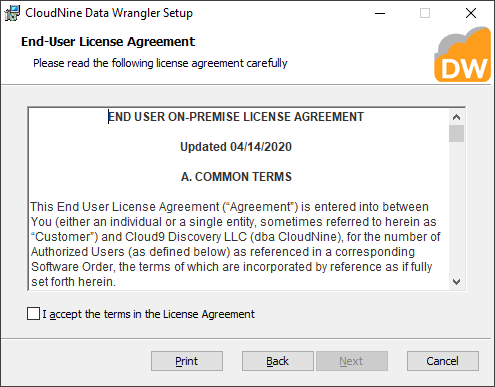
3.At the End-User License Agreement screen, check the box stating I accept the terms in the License Agreement, and then click Next to proceed.
4.At the Custom Setup screen, ensure that the Application feature under CloudNine Data Wrangler is selected to be installed.
|
Any feature/program with a red X will not be installed. |

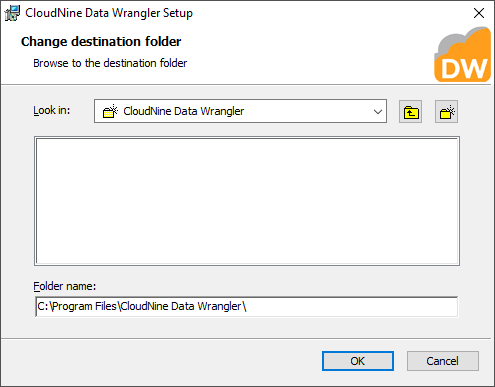
5.You can change the install location for Data Wrangler from the Custom Setup screen by clicking the Browse... button to the far right of the Location shown near the bottom. This will open the Change destination folder window, allowing you to determine a new root folder (on this computer) to use as the install location. If you choose a new folder, be sure to click OK to apply those changes.
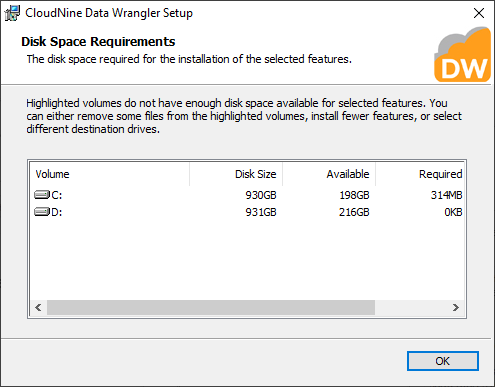
6.You can also determine how much hard drive space is Required/Available for these programs/features from the Custom Setup screen by clicking the Disk Usage button at the bottom-left. This will open the Disk Space Requirements window, indicating these details for all available Volumes. When you're done reviewing the information, click OK to close this window.
7.When you're satisfied with the features/programs and install location shown in the Custom Setup screen, click Next to proceed.
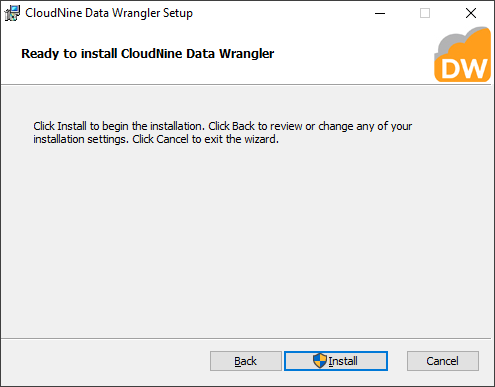
8.At the Ready to Install CloudNine Data Wrangler screen, you have one last chance to go Back to any of the previous screens and change the installation settings. Otherwise, click Install to begin the installation process.
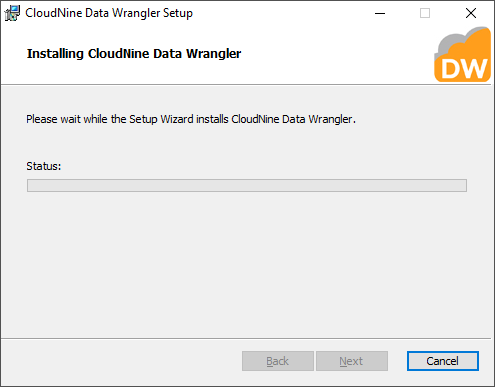
9.You will be brought to the Installing CloudNine Data Wrangler screen, where the installation progress is displayed. This process may take several minutes.
|
Depending on your Windows UAC (User Account Control) settings, you be prompted at this time to confirm that you want to allow changes to your computer. Click Yes to proceed with the installation. |
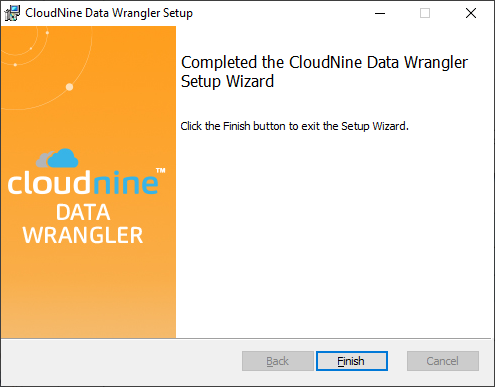
10.After installation finishes, you will arrive at the Completed screen. Click Finish to exit the Setup Wizard.