CloudNine Explore users can enjoy the benefit of extracting data directly from O365 into an Explore case for automated ingestion and analysis. CloudNine Collection Manager automatically detects Explore installation, and will display the following screen if you have Explore installed locally. Otherwise you will be taken to the Output screen.
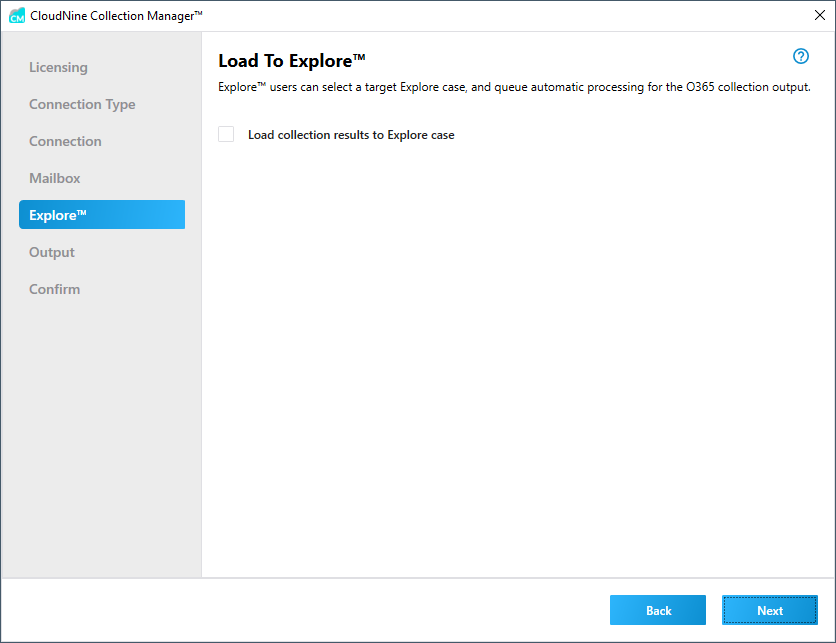
If you would like to automatically load the collected O365 data into an Explore case select the Load collection results to Explore case check box. The screen will update to provide details for Explore cases that are available.
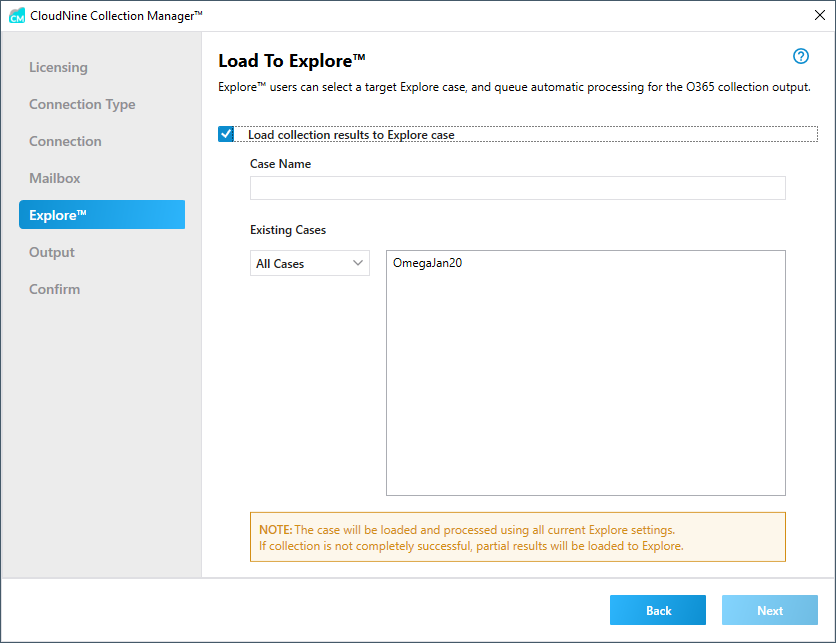
You can filter the list of existing cases by using the Existing Cases drop down. Select All Cases to see all available Explore cases, or select a letter to filter the cases list to ones that begin with that letter.
Click on a specific case listed in the Existing Cases list and the Case Name field will update with that name. If you choose a case that was created in an older version of Explore, you will see a dialog message indicating that your case will be migrated to the current version of Explore as part of the CloudNine Collection Manager process.
Alternatively you can type in a new Case Name of your choice to create a new case in Explore.
|
The case will be loaded and processed using current Explore case settings (Deduplication, Filtering, Compound Document extraction, etc.). If the case and/or custodian(s) already exist, the extraction results will be loaded accordingly. |
|
If you have Explore open while running Connect, you may not see data show in the Explore import tab; you may need to go to another tab to refresh. |