After running a production and verifying the produced images, it is best practice to create a database for the production.
For more information about exporting databases, see Exporting databases.
To Create a Production Database
1.In Concordance Desktop, make sure that the same production query is still active in the database or rerun the same production query in the database.
2.From the Documents menu, click Export, and then As a Concordance Desktop database.
i.Clicking As a Concordance Desktop database opens the Export Wizard - Database dialog box.
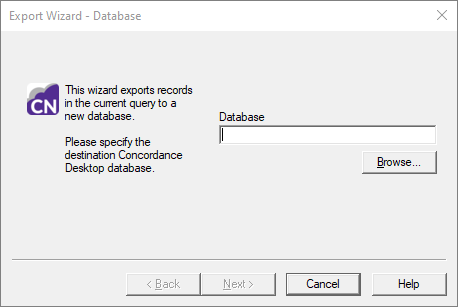
3.Click the Browse button to open the Select database to merge dialog box.
4.Navigate to the directory where the production imagebase is stored, type the database name, using the same name as the production imagebase, in the File name field, and click Open.
i.When creating your production database, the database needs to be created in the same directory with the same name as the imagebase that was created in the production wizard. This will ensure that the production imagebase will link to the corresponding database.
5.Click Next to open the Export Wizard - Fields dialog box.
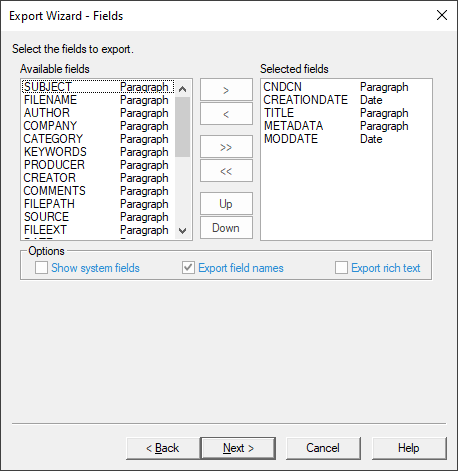
i.The database list defaults to the database currently opened, and all the database's fields are selected in the field list.
|
When exporting to an existing database, fields are only exported if the fields match the fields in the existing database. |
6.To only include some of the database fields in the export, in the fields list, click the fields you want to export.
i.To select multiple fields, use SHIFT+click or CTRL+click.
7.Click Next to open the Append/Replace dialog box.
i.The Append/Replace dialog box allows you to control how documents are exported.
8.Select the Append all records option.
i.When you are exporting to a new database, if the Append all records option is selected, the export adds all records in the query to the database. If you are exporting to an existing database, the export appends all records in the query after the last record in the existing database.
9.To copy a record's attachments with notes during the export, select the Copy attachments with notes check box.
i.When the Copy attachments with notes check box is selected, the export automatically creates sequentially numbered attachment folders in the same directory as the Concordance Desktop database, and copies attachments into the subfolders. Folders are named in the format ATTACH-000000 and increment by one if the initial folder exceeds maximum capacity.
ii.To exclude a record's attachments with notes from the export, clear the Copy attachments with notes check box.
10.Click Next to open the Export Wizard - Export dialog box.
i.The First and Last fields default to the first and last record in the current query.
11.To modify the range of the records to be exported, in the First field, type the record number for the first record in the range you want to export, and in the Last field, type the record number for the last record in the range you want to export.
12.Click the Export button.
i.If you are exporting to a new database clicking the Export button opens the following message:
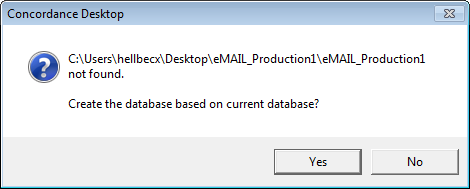
13.Click Yes to start the export and have the export create the new database.
i.If you are exporting to an existing database, clicking the Export button starts the export.
ii.You can click the Cancel button at any time to cancel the process.
iii.When the export finishes, the Export Wizard - Export dialog box automatically closes.
14.On the File menu, click Open. The Open dialog appears.
15.Navigate to and open the production database you created, to open the database in Concordance Desktop.
16. On the File menu, click Reindex to index the database.
17. On the Dynamic toolbar, click the View image (camera) button to open the Concordance Desktop viewer and the produced images linked to the production database you created.