There are three ways to display records in Concordance:
•Browse View - displays document content in a scrollable pane (default view)
•Table View - displays a list of documents in a spreadsheet format
•Split Screen - allows you to view both Browse and Table simultaneously (split vertical or horizontal)
Browse View

The Browse View (default) allows you to read an entire document summary. Use the Dynamic toolbar at the lower left to navigate between documents. The document number and record count display in the Status bar, and the document title displays in the window’s title bar. Non-paragraph fields are preceded with an equal sign (=) and paragraph fields are preceded with a colon (:).
When you run searches in Concordance, any words located in a search (search hits) are highlighted in the Browse view. You can quickly navigate search hits using the Previous Hit and Next Hit buttons on the Dynamic toolbar.
When viewing records in the Browse view, you can use the Empties command on the Tools menu to hide fields without data, which can help tighten the screen view when reading records. A check mark next to the Empties command on the Tools menu indicates empty fields are hidden in the Browse view. If a field is not displayed in the Browse view, even when the Empties command is deselected, you may not have viewing privileges for the field. Contact your Concordance administrator for more information.
You can customize the font and color of the field and record text displayed in the view, unless the record contains rich-text format. Changing the text font and color does not affect the record’s original text, which is stored as a rich text file (.rtf) to secure the original format. See Customizing View Fonts for more information. You or your Concordance administrator can also customize the Browsing Preferences. Browsing Preferences are saved in your Microsoft Windows registry settings.
Table View
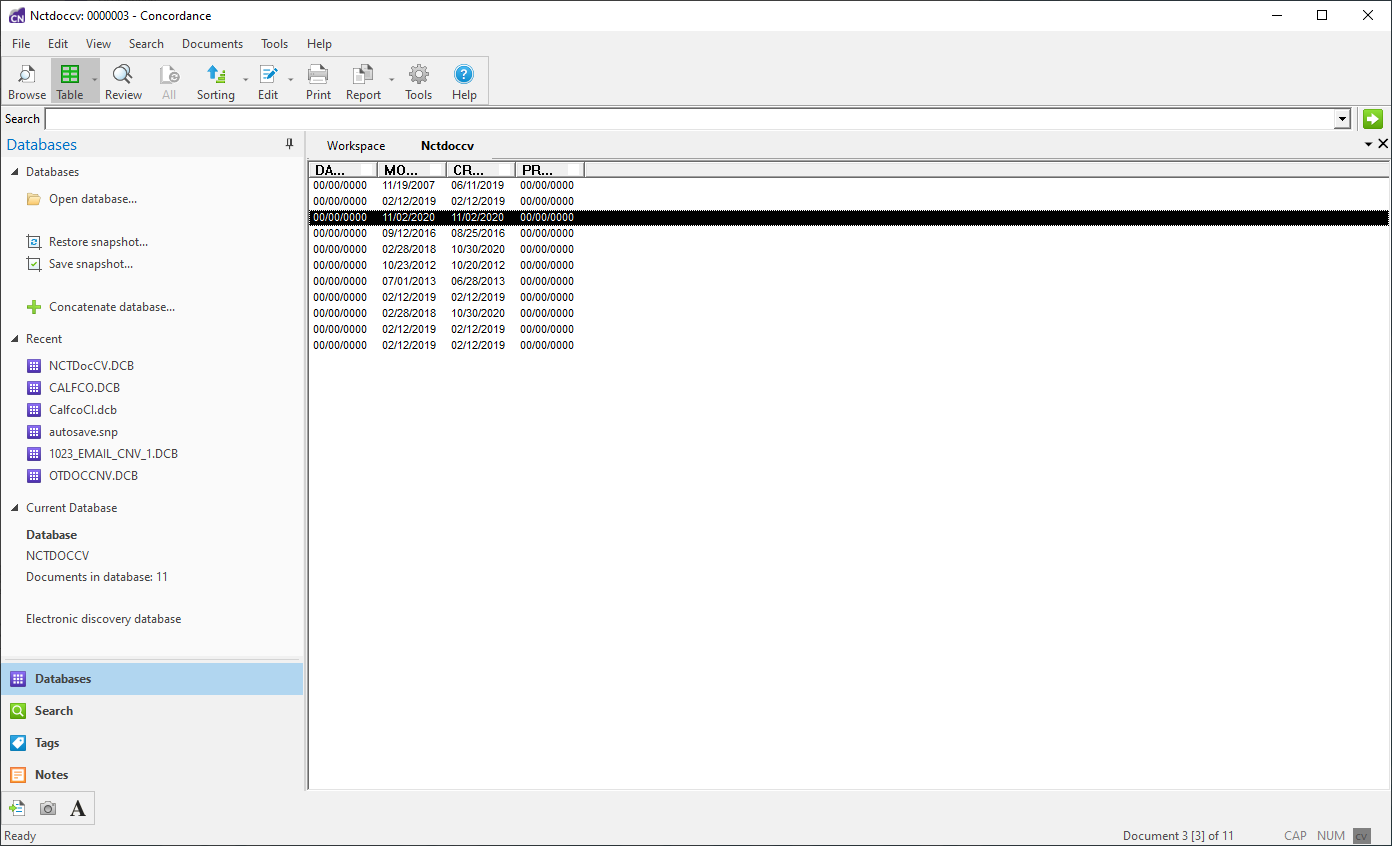
The Table view displays documents from the current search in a tabular format, similar to a spreadsheet, with one document per row. Use the Dynamic toolbar at the lower left to navigate records in the Table view. The view's default document sort order is the original import order for records entered into the system. Clicking a field column header will sort data in ascending or descending order. You can adjust the column widths by dragging the divider between columns.
You can customize which fields are displayed in the view, as well as the field order, by using the table layouts. You can create multiple custom table layouts for the Table view. See Using Table Layouts for more details.
You can also modify the font and color of the record text displayed in the Table view. Changing the text font and color does not affect the record’s original text, which is stored as a rich text file (.rtf) to secure the original format. See Customizing View Fonts for more information.
To review the contents of a specific document in the Table view, double-click on the document to open that document in the Browse view.
Split Screen View
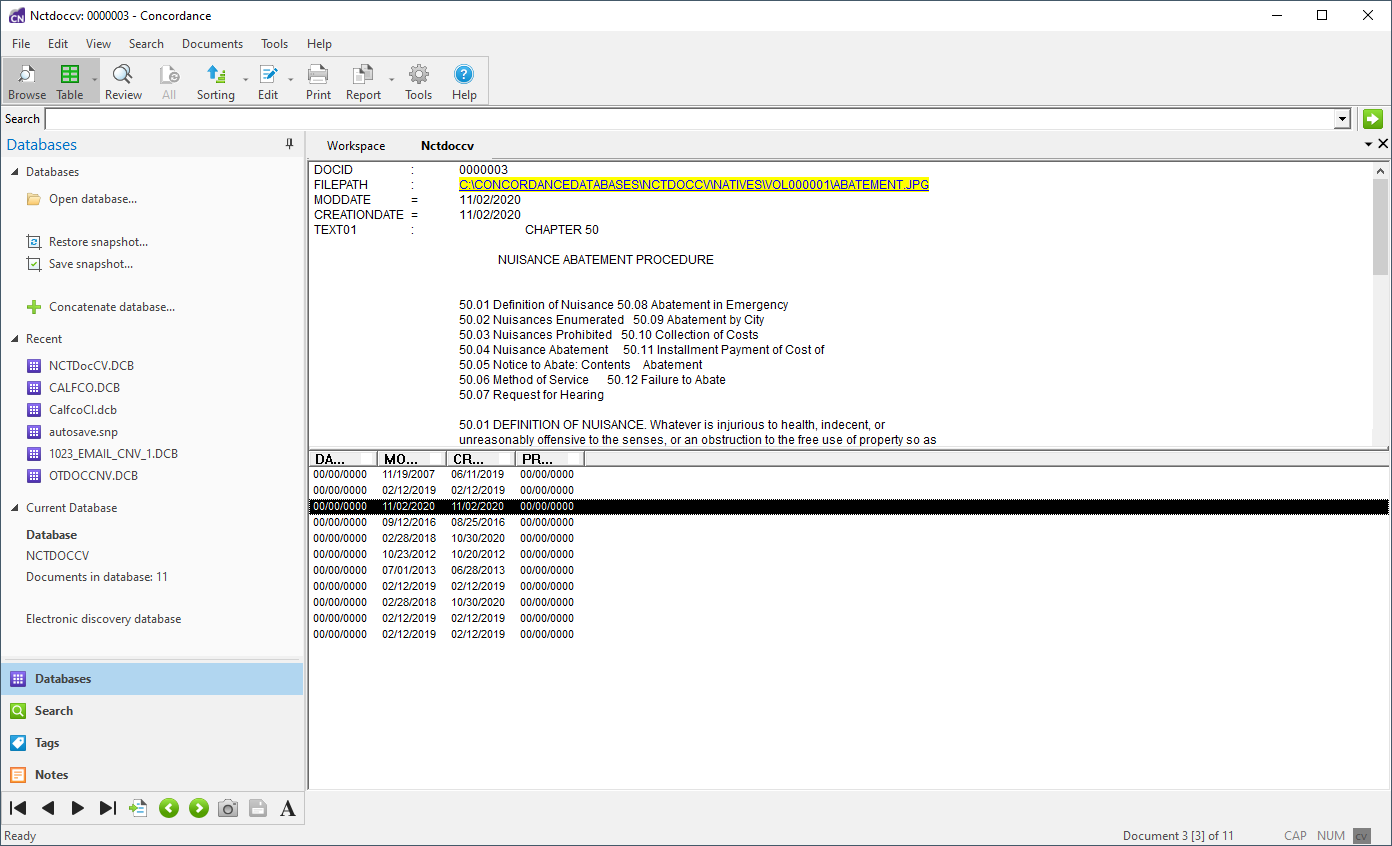
The Split Screen view allows you to display two views simultaneously. You can have the two views display from top to bottom or left to right. You can use the Split Screen for the Browse, Table, Review, and Edit views. The current views displayed in the Split Screen will be selected (highlighted in orange) on the Toolbar.
Enable or change the display mode of the Split Screen by selecting options in the View | Split Screen menu. The views displayed will update when you select individual views on the Toolbar.